Danish Pastries
Introduction
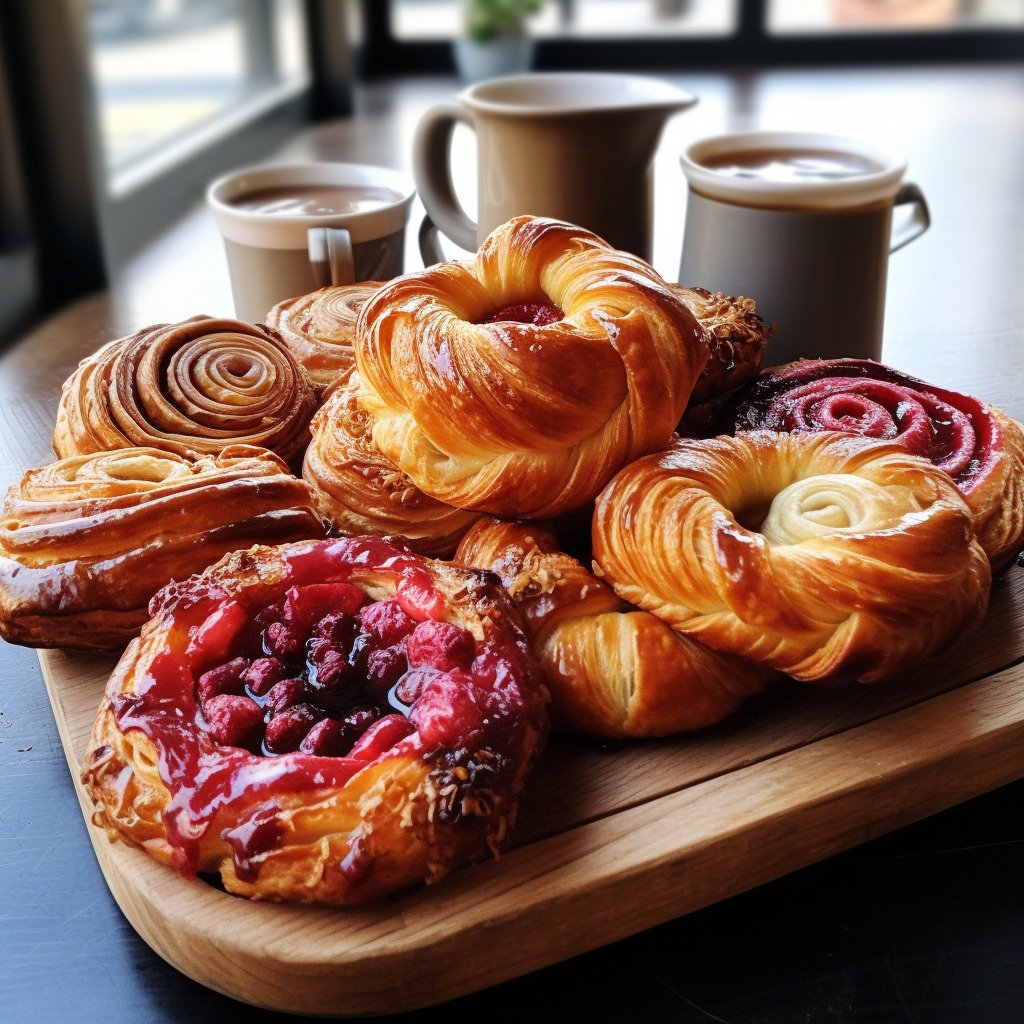
Welcome to a delightful journey of making Danish pastries, the authentic Danish way. A well-baked Danish pastry is a delight to the palate and a feast to the eyes. Let’s dive into the art and science of baking sumptuous Danish pastries that will leave your guests asking for more.
Ingredients
- 1 packet active dry yeast (about 2 1/4 teaspoons)
- 1/2 cup whole milk, warmed
- 1 egg, beaten
- 1/4 cup granulated sugar
- 1/2 teaspoon salt
- 2 1/2 cups all-purpose flour, plus more for dusting
- 2 sticks (1 cup) unsalted butter, at room temperature
Directions
- Dissolve the yeast in the warm milk in a small bowl. Let stand until foamy, about 5 minutes.
- In a large bowl, combine the yeast mixture, egg, sugar, and salt. Add the flour, and stir until a sticky dough forms.
- Turn the dough out onto a lightly floured surface, and knead until smooth and elastic, about 2 minutes. Shape the dough into a ball, and return it to the bowl. Cover the bowl with a damp cloth, and let the dough rise in a warm place until doubled in size, about 1 hour.
- Roll out the dough on a lightly floured surface into a 14-by-14-inch square. Spread the butter over the top two-thirds of the square. Fold the bottom third of the square up over the middle third, and fold the top third down over that. Turn the dough 90 degrees, and roll it out into a rectangle. Fold the rectangle in thirds again, wrap it in plastic, and refrigerate for at least 2 hours.
- Preheat the oven to 400 degrees F. Line two baking sheets with parchment paper.
- Roll out the dough on a lightly floured surface into a large rectangle. Cut the rectangle into squares, and place a spoonful of your favorite jam or pastry cream in the center of each square. Fold the corners of each square into the center over the filling, and press down to seal.
- Bake the pastries until golden brown, about 15 minutes. Let cool on the baking sheets for 5 minutes, then transfer to wire racks to cool completely.
Notes/Tips
- When kneading the dough, use the heel of your hand to push the dough away from you, then fold it back over itself and push again. This will help to develop the gluten in the flour, making the dough elastic and giving the pastries their characteristic flaky layers.
- For the best flavor, use high-quality butter. The butter not only adds flavor to the pastries, but also creates the layers of dough that puff up in the oven to give the pastries their flaky texture.
- Try different fillings for your pastries. Traditional Danish pastries are often filled with prune or raspberry jam, but you can also use apple or cherry pie filling, Nutella, or even savory fillings like ham and cheese.