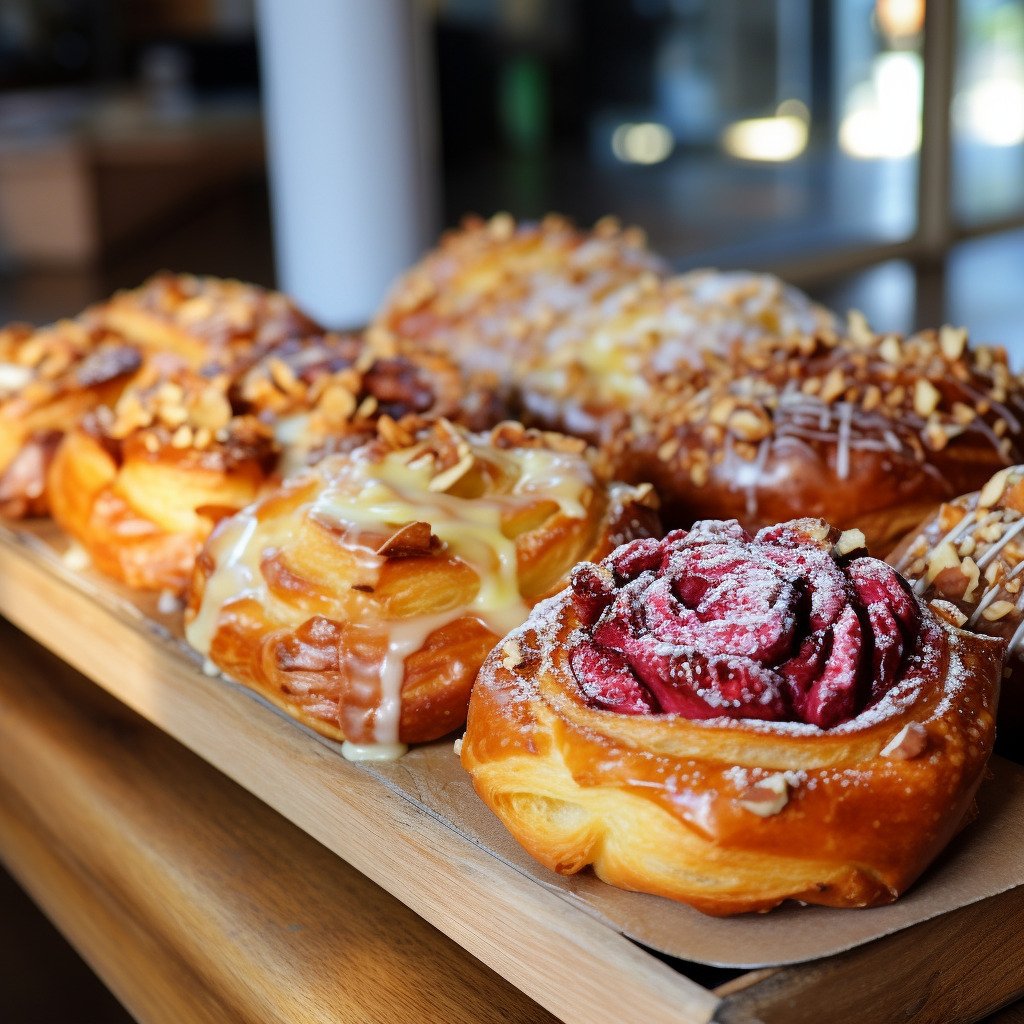
Best Danish Pastries in Town
Introduction
Welcome fellow bakers and pastry lovers! Today, we are going to delve into the wonderful world of Danish pastries, those buttery, flaky delights that have captured the hearts and taste buds of millions around the world. I am going to share with you my carefully crafted recipe, along with some tips and tricks to ensure you create the perfect Danish pastries every time. So, preheat your ovens and let’s get baking!
Ingredients
For the Dough:
- 500 grams (17.6 ounces) bread flour
- 60 grams (2.1 ounces) granulated sugar
- 10 grams (0.35 ounces) active dry yeast
- 2 large eggs
- 1 cup (240 milliliters) whole milk
- 1 teaspoon salt
For the Butter Block:
- 500 grams (1.1 pounds) unsalted butter, cold
For the Filling:
- 2 cups (500 grams) of your favorite fruit jam
Directions
- In a large mixing bowl, combine all the dough ingredients. Knead until the dough is smooth and elastic. Let it rest for an hour.
- While the dough is resting, prepare your butter block. Place your cold butter between two pieces of parchment paper and beat it with a rolling pin until it’s about 1 cm thick. Refrigerate until needed.
- Roll out your dough into a rectangle and place the butter block in the center. Fold the dough over the butter and roll it out again. Repeat this process three times.
- Once your dough has been sufficiently laminated, allow it to rest in the fridge for at least an hour.
- Roll out your dough one last time, cut into squares, and place a spoonful of your chosen jam in the center of each square. Fold the corners of the dough into the center to create the classic Danish pastry shape.
- Bake in a preheated oven at 200°C (392°F) for 15-20 minutes or until golden brown.
Notes/Tips
Remember, patience is key when making Danish pastries. The process of laminating the dough with the butter is what gives these pastries their signature flaky layers. Do not rush this process. Additionally, always use cold butter for the butter block. This helps to keep those layers distinct and prevents the butter from melting into the dough.
Conclusion
There you have it, my dear readers! A detailed guide on how to make the best Danish pastries. It might take a bit of practice to perfect the dough lamination technique, but once you do, you’ll be rewarded with the most delightful pastries you’ve ever tasted. So go on, give it a try, and happy baking!


