Create Delicious Homemade Pasta with a KitchenAid Extruder
Introduction
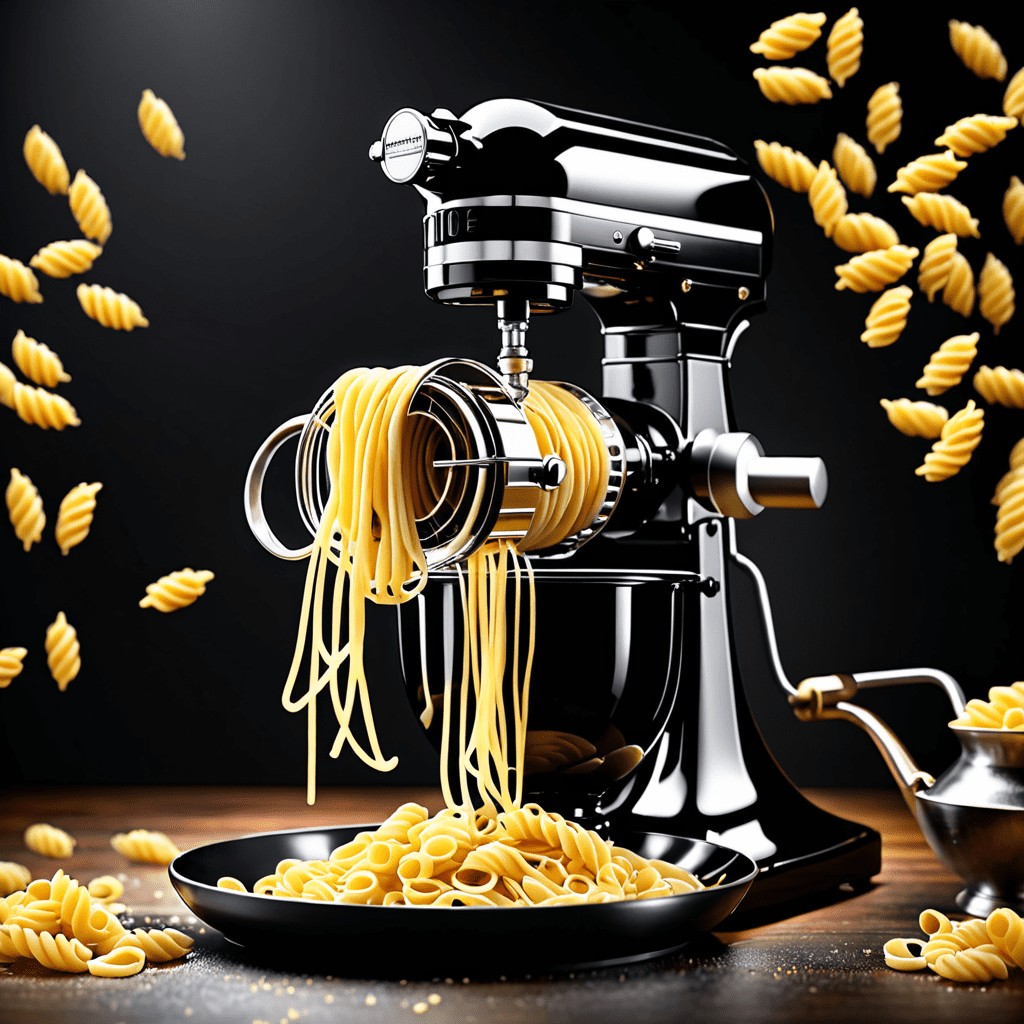
Creating homemade pasta with a KitchenAid pasta extruder is a delightful culinary adventure. This versatile attachment allows you to make various types of pasta, such as spaghetti, rigatoni, and bucatini, right in your own kitchen. With the perfect blend of flour, eggs, and creativity, you can effortlessly craft delicious pasta dishes for your loved ones. In this article, we will explore an easy and flavorful pasta extruder recipe that will elevate your homemade pasta game.
Ingredients
To make approximately 1 pound of fresh extruded pasta, you will need the following ingredients:
- 2 cups semolina flour
- 1 cup all-purpose flour
- 4 large eggs
- 1 tablespoon water (if needed)
- Pinch of salt
Directions
- Start by attaching the pasta extruder to your KitchenAid stand mixer according to the manufacturer’s instructions.
- In a large mixing bowl, combine the semolina flour and all-purpose flour. Create a well in the center of the flour mixture.
- Crack the eggs into the well and add a pinch of salt.
- Using the dough hook attachment on your stand mixer, begin mixing the ingredients on low speed until a dough starts to form. If the dough seems too dry, add a tablespoon of water and continue mixing until it comes together. If it’s too wet, add a sprinkle of flour.
- Once the dough has formed, increase the speed to medium and knead the dough for about 2-3 minutes until it becomes smooth and elastic.
- Divide the dough into manageable portions and shape them into small disks. Wrap each disk in plastic wrap and let them rest at room temperature for about 30 minutes. This resting period allows the gluten to relax, making the dough easier to extrude.
- After the resting period, unwrap a dough disk and feed it through the pasta extruder, using the desired pasta die according to your recipe or preferences. Cut the extruded pasta to your desired length using a knife or the cutter attachment (if available).
- Arrange the freshly extruded pasta on a floured baking sheet and continue with the remaining dough portions.
- Once all the pasta is extruded, it’s ready to be cooked in a pot of boiling salted water for 2-4 minutes, depending on the thickness of the pasta. Drain the pasta and toss it with your favorite sauce and toppings.
- Enjoy your freshly made, flavorful homemade pasta, and savor the fruits of your culinary labor!
FAQ
1. Can I use only semolina flour for the pasta dough?
Yes, you can use only semolina flour for a more traditional and rustic texture. Simply replace the all-purpose flour in the recipe with an additional 1 cup of semolina flour.
2. Can I make gluten-free pasta with the extruder?
While traditional pasta dough contains gluten, you can explore making gluten-free pasta using alternative flours such as rice flour, chickpea flour, or a gluten-free flour blend. It may require some experimentation to achieve the desired texture and consistency.
3. How do I store the extruded pasta if not cooking immediately?
If you’re not cooking the pasta right away, you can lay it out in single layers on a baking sheet and freeze until firm. Once frozen, transfer the pasta to airtight containers or resealable bags for storage in the freezer. This will help prevent the pasta from sticking together, allowing you to cook it whenever you desire.


