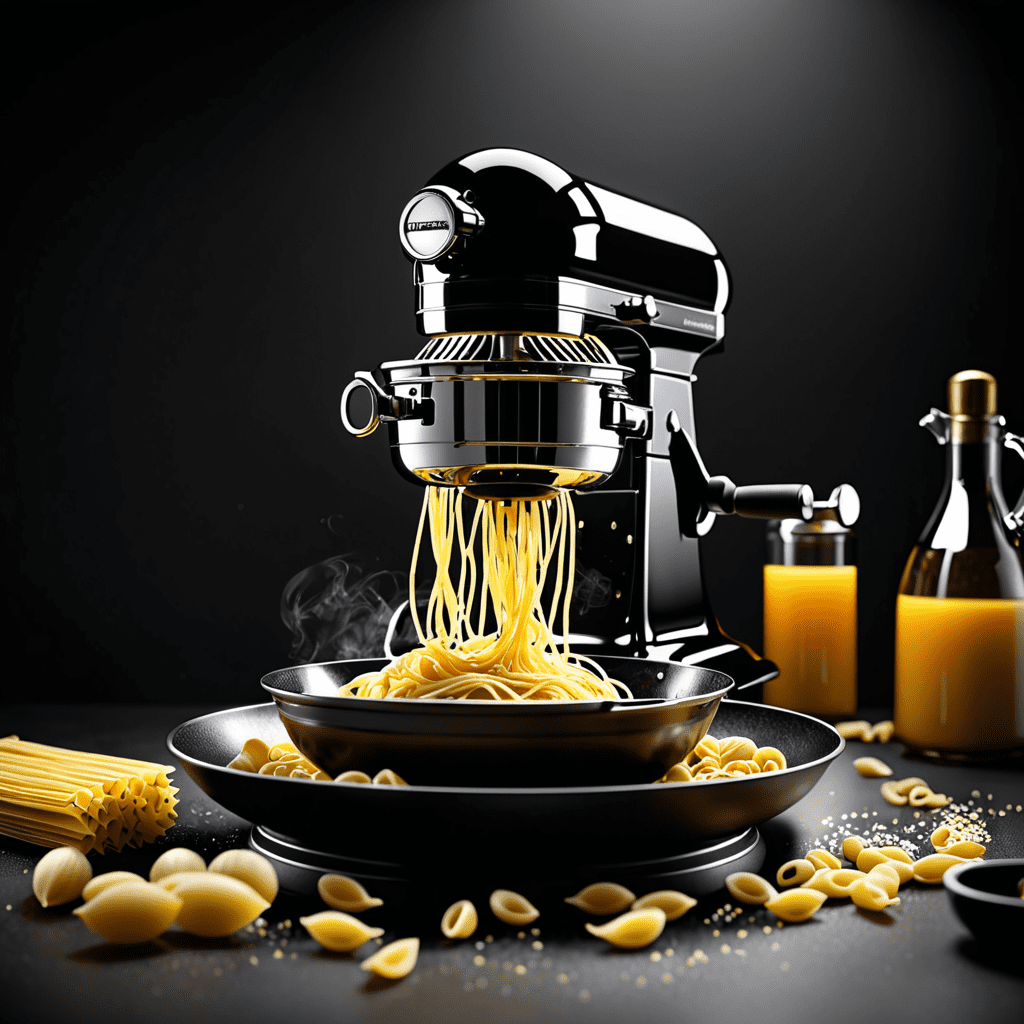
Whip Up Fresh Pasta with Your KitchenAid Pasta Press in No Time!
Whip Up Fresh Pasta with Your KitchenAid Pasta Press in No Time!
Introduction
If you own a KitchenAid stand mixer and a pasta press attachment, you’re just a few steps away from indulging in delightful, homemade pasta. With the help of this guide, you’ll master the art of creating perfect pasta using your KitchenAid pasta press. Whether you’re a beginner or a seasoned chef, this recipe will elevate your pasta game to a whole new level.
Ingredients
Making pasta with a KitchenAid pasta press is simpler than you might think. Here are the basic ingredients you’ll need for a classic pasta dough:
– 2 cups all-purpose flour
– 3 large eggs
– 1 tablespoon water
– Semolina flour for dusting
Feel free to add your own twist with ingredients like spinach, beets, or herbs to flavor and color your pasta dough.
Directions
1. Start by attaching the pasta press to your KitchenAid stand mixer according to the manufacturer’s instructions.
2. Prepare the classic pasta dough by placing the all-purpose flour in a mound on a clean work surface. Make a well in the center of the mound and crack the eggs into it.
3. Gradually incorporate the flour into the eggs using a fork or your fingers until a shaggy dough forms.
4. Knead the dough for about 2-3 minutes until it becomes smooth and elastic. If the dough feels too dry, add a tablespoon of water at a time until you reach the desired consistency.
5. Divide the dough into small portions and shape each portion into a flattened rectangle. Dust with semolina flour to prevent sticking.
6. Set the pasta press to the desired thickness and feed a portion of the dough through the press, using the mixer’s low speed. Repeat this process, adjusting the pasta press to thinner settings for your desired pasta thickness.
7. Once the pasta sheets are rolled out, switch to the desired pasta shape attachment (spaghetti, fettuccine, etc.) and run the pasta sheets through the press again.
8. As the pasta comes out, cut it to your desired length and dust with semolina flour to prevent sticking.
9. Cook the fresh pasta in a large pot of boiling salted water for 2-3 minutes or until al dente.
10. Once cooked, serve with your favorite pasta sauce and enjoy your homemade pasta!
FAQ
1. Can I use whole wheat flour to make pasta with the KitchenAid pasta press?
Yes, you can substitute whole wheat flour for all or part of the all-purpose flour. Keep in mind that whole wheat flour may yield a denser pasta, so adjust the water content accordingly.
2. How long can I store fresh pasta made with the KitchenAid pasta press?
Fresh pasta can be stored in the refrigerator for 2-3 days or frozen for up to 2 months. Dust the pasta lightly with flour, wrap it in plastic wrap, and place it in an airtight container or resealable freezer bag before refrigerating or freezing.
3. Is it necessary to use semolina flour for dusting the pasta?
Semolina flour is preferred for dusting the pasta as it prevents sticking and adds a nice texture to the pasta. However, all-purpose flour can also be used if semolina flour is not available.
4. Can I make gluten-free pasta with the KitchenAid pasta press?
Yes, you can make gluten-free pasta using a suitable gluten-free flour blend. Follow a recipe specifically designed for gluten-free pasta to achieve the best results.
5. How do I clean the KitchenAid pasta press attachment?
After use, disassemble the pasta press attachment and remove any remaining dough. Use a small brush or toothpick to clean hard-to-reach areas. Wipe the attachment with a dry cloth or brush to remove any excess flour or dough particles. Do not immerse the pasta press attachment in water or clean it in the dishwasher.
