Whip Up Fresh Pasta with Your KitchenAid Attachment: A Delicious Recipe to Try Today
Whip Up Fresh Pasta with Your KitchenAid Attachment: A Delicious Recipe to Try Today
Introduction
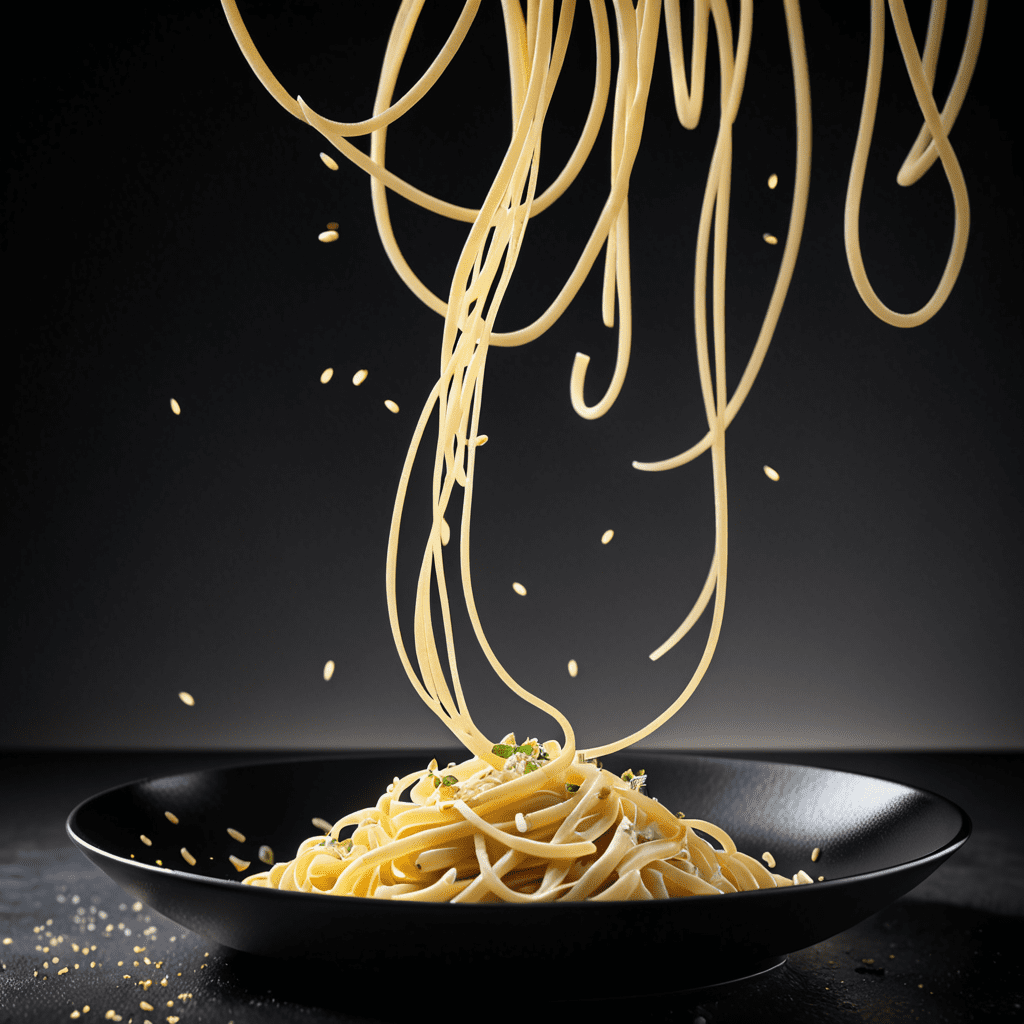
Indulge in the delights of homemade pasta with your KitchenAid pasta attachment. This versatile tool transforms your stand mixer into a pasta-making powerhouse, allowing you to create restaurant-quality pasta in the comfort of your own kitchen. Whether you’re a pasta aficionado or a culinary enthusiast looking to expand your homemade repertoire, this recipe promises a seamless and satisfying pasta-making experience.
Ingredients
– 2 cups all-purpose flour
– 3 large eggs
– 1 tablespoon water
– Semolina flour for dusting
Directions
1. **Prepare the Dough**:
– Attach the pasta roller to your KitchenAid stand mixer. Set the mixer speed to 2.
– Combine the all-purpose flour, eggs, and water in the mixer bowl. Mix on low speed until the dough forms.
– Once the dough has come together, remove it from the bowl and knead it on a floured surface for about 2 minutes.
– Wrap the dough in plastic wrap and let it rest for 20 minutes.
2. **Roll the Pasta**:
– Unwrap the dough and cut it into four equal pieces.
– Flatten each piece into a rectangular shape.
– Set the pasta roller to the widest setting (1) and dust the dough lightly with semolina flour.
– Turn the stand mixer to speed 2 and feed the dough through the roller. Fold the dough into thirds and repeat this step 3-4 times, dusting with semolina as needed.
3. **Thin the Pasta**:
– Adjust the roller to the next thickness setting (2 or 3) and pass the dough through without folding.
– Continue to thin the pasta, passing it through each decreasing thickness setting once.
– Lay the rolled pasta sheets on a semolina-dusted surface.
4. **Cut the Pasta**:
– Replace the pasta roller with the desired pasta cutter attachment on the stand mixer.
– Run the thin pasta sheets through the cutter to create your preferred pasta shape.
5. **Cook and Serve**:
– Boil a large pot of salted water.
– Cook the fresh pasta for 2-4 minutes or until al dente.
– Drain and toss with your favorite sauce and toppings.
FAQ
**Q:** Can I make the pasta dough in advance?
**A:** Yes, you can prepare the pasta dough a day in advance. Wrap it tightly in plastic wrap and store it in the refrigerator until you’re ready to use it.
**Q:** Do I need to use semolina flour?
**A:** Using semolina flour helps prevent the pasta from sticking together. It also adds a nice texture to the finished dish.
**Q:** Can I freeze the fresh pasta?
**A:** Yes, you can freeze the uncooked pasta for up to 2 months. Simply dust it with semolina flour, place it on a baking sheet in a single layer, and freeze. Once frozen, transfer the pasta to a freezer bag or airtight container.
**Q:** Can I use this recipe to make gluten-free pasta?
**A:** While this recipe calls for all-purpose flour, you can experiment with gluten-free flour blends. Follow the same process and adjust the dough consistency as needed.
**Q:** How do I clean the pasta attachments?
**A:** After use, brush off excess flour from the attachments and allow any dough residue to dry before brushing it off. Do not immerse the attachments in water; simply wipe them with a dry cloth or brush.
Mastering the art of homemade pasta with your KitchenAid pasta attachment is not only rewarding but also opens up a world of culinary possibilities. Whether you’re crafting classic spaghetti, decadent fettuccine, or vibrant ravioli, this recipe serves as a gateway to creating sensational pasta dishes from scratch. With a few simple ingredients and your trusty KitchenAid stand mixer, a delightful pasta-making experience awaits.


