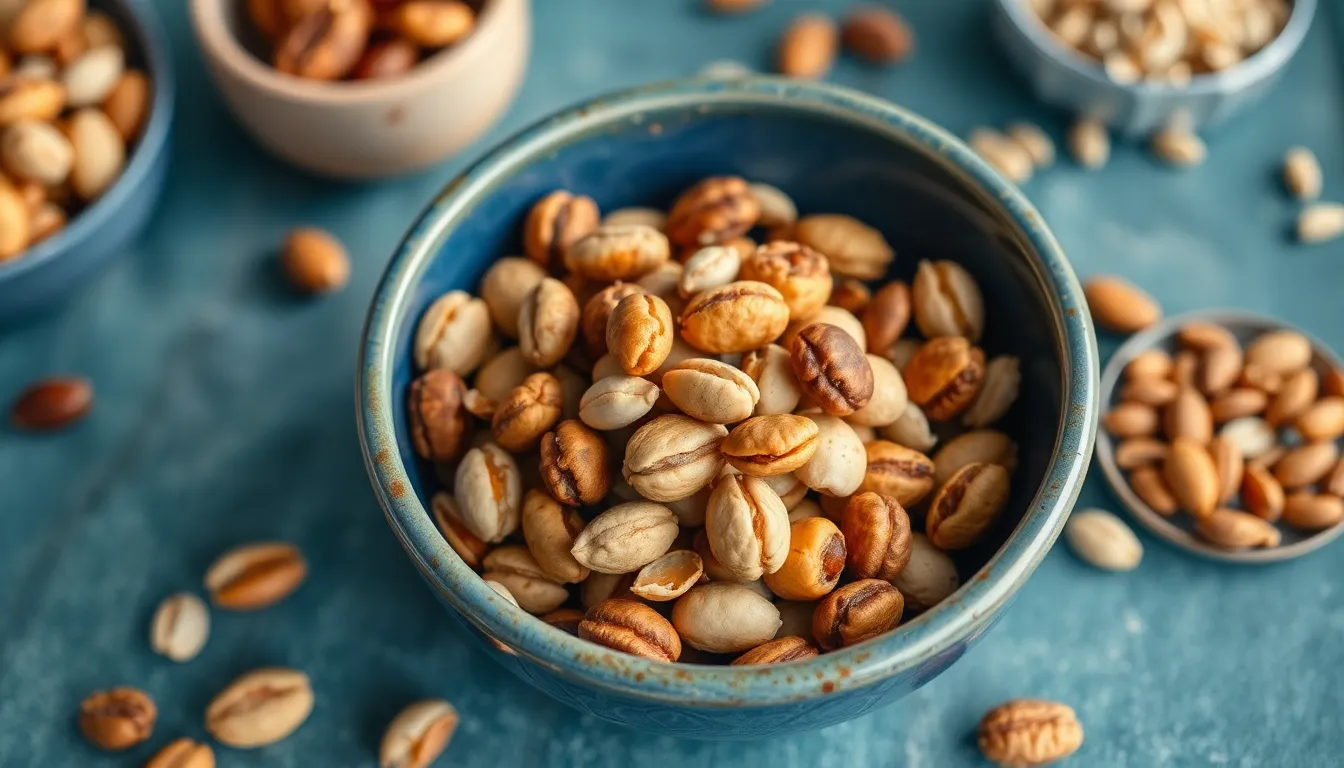
The Art of Dehydrating: Tips from Professional Chefs
Dehydrating food is an age-old cooking method that transforms fresh ingredients into delicious, shelf-stable snacks and meal components. By removing moisture, this technique not only preserves food but also intensifies its natural flavors. As we dive into the world of dehydration, we will explore insights from professional chefs to enhance your culinary skills.
Section 1: Understanding Dehydration
1.1 What is Dehydration?
Dehydration is the process of removing moisture from food to prevent spoilage. This method involves exposing food to low heat and air circulation, allowing water content to evaporate. Historically, dehydration was used as a preservation technique long before refrigeration was invented. Traditional practices include sun drying, air drying, and later, the advent of dehydrators and ovens.
1.2 Benefits of Dehydrating Food
- Preserving Nutrients and Flavors: Dehydrating maintains essential nutrients while intensifying flavors, making it a health-conscious choice.
- Extending Shelf Life: Dehydrated foods have a significantly longer shelf life compared to their fresh counterparts, reducing food waste.
- Creating Unique Textures: Dehydration alters the texture of ingredients, allowing for culinary creativity in snacks, soups, and garnishes.
Section 2: Essential Equipment for Dehydrating
2.1 Home Dehydrators vs. Alternative Methods
When it comes to dehydrating, you have various options. Here’s a comparison of home dehydrators, ovens, and air fryers:
| Method | Pros | Cons |
|---|---|---|
| Home Dehydrator |
|
|
| Oven |
|
|
| Air Fryer |
|
|
2.2 Must-Have Tools for Successful Dehydrating
Having the right tools can make the dehydrating process more efficient and enjoyable. Here’s a list of essential tools:
- Slicing Knives: For even cutting of fruits and vegetables.
- Cutting Boards: Durable and easy to clean.
- Food Dehydrator: Opt for one with adjustable temperature settings.
- Storage Containers: Airtight jars or vacuum-sealed bags are best for long-term storage.
- Digital Scale: For measuring ingredients accurately.
Section 3: Techniques from Professional Chefs
3.1 Selecting Ingredients
Choosing the right ingredients is crucial for the success of your dehydration process. Here are some tips:
- Opt for fresh, ripe produce. Quality ingredients yield the best flavors.
- Seasonal fruits and vegetables usually have better taste and nutritional value.
- Consider the intended use: some ingredients dehydrate better for snacking, while others are ideal for cooking or seasoning.
3.2 Preparing Ingredients
Preparation is key to successful dehydration. Here are best practices:
- Washing: Thoroughly wash all fruits and vegetables to remove any pesticides.
- Cutting: Slice ingredients to a uniform thickness, typically about 1/8 to 1/4 inch thick. This ensures even drying.
- Blanching: Some vegetables may benefit from blanching before dehydration to minimize enzymatic activity.
3.3 Dehydrating Methods
There are several methods for dehydrating food, each with its unique benefits. Below are detailed steps for each:
Oven Dehydration
- Preheat the oven to the desired temperature (typically between 130°F to 150°F).
- Arrange sliced ingredients on baking sheets lined with parchment paper.
- Leave the oven door slightly ajar to allow moisture to escape.
- Check periodically and rotate trays for even drying.
Dehydrator Method
- Set the dehydrator to the recommended temperature for the specific food items.
- Place prepared ingredients on the dehydrator trays, ensuring adequate space between pieces.
- Let the dehydrator run until the food is dry and brittle.
Air Fryer Dehydration
- Set the air fryer to the dehydration setting, usually around 120°F to 140°F.
- Arrange sliced food in a single layer in the basket.
- Check for dryness starting at 30 minutes, shaking the basket intermittently.
Here’s a comparison of drying times and temperatures for different foods:
| Food Item | Drying Temperature (°F) | Drying Time (Hours) |
|---|---|---|
| Apples | 135 | 6-8 |
| Carrots | 125 | 8-10 |
| Tomatoes | 135 | 6-12 |
| Herbs | 95 | 1-4 |
Section 4: Storage and Usage of Dehydrated Foods
4.1 Proper Storage Techniques
Once you’ve dehydrated your food, proper storage is essential to maintain its quality:
- Vacuum Sealing: Ideal for long-term storage, it removes air and prevents oxidation.
- Glass Jars: Use amber or dark jars to protect against light and extend shelf life.
- Labeling: Always label and date your stored items for easy identification.
4.2 Creative Ways to Use Dehydrated Ingredients
Dehydrated foods offer versatility in your cooking. Here are some creative ways to incorporate them:
- Snack Ideas: Use dehydrated fruits for homemade trail mix or granola bars.
- Soups and Stews: Rehydrate vegetables in broths or soups for added flavor.
- Herb Seasonings: Grind dehydrated herbs to create your own seasoning blends.
Professional chefs often emphasize experimentation. Try combining different dehydrated ingredients to create unique dishes!
Conclusion
Dehydrating food is not just a preservation method; it’s an art that enhances flavors and textures. By understanding the process, investing in the right equipment, and following the techniques shared by professional chefs, you can elevate your culinary creations and enjoy the benefits of dehydrated foods in various applications. Embrace the art of dehydrating and let your creativity shine in the kitchen!


