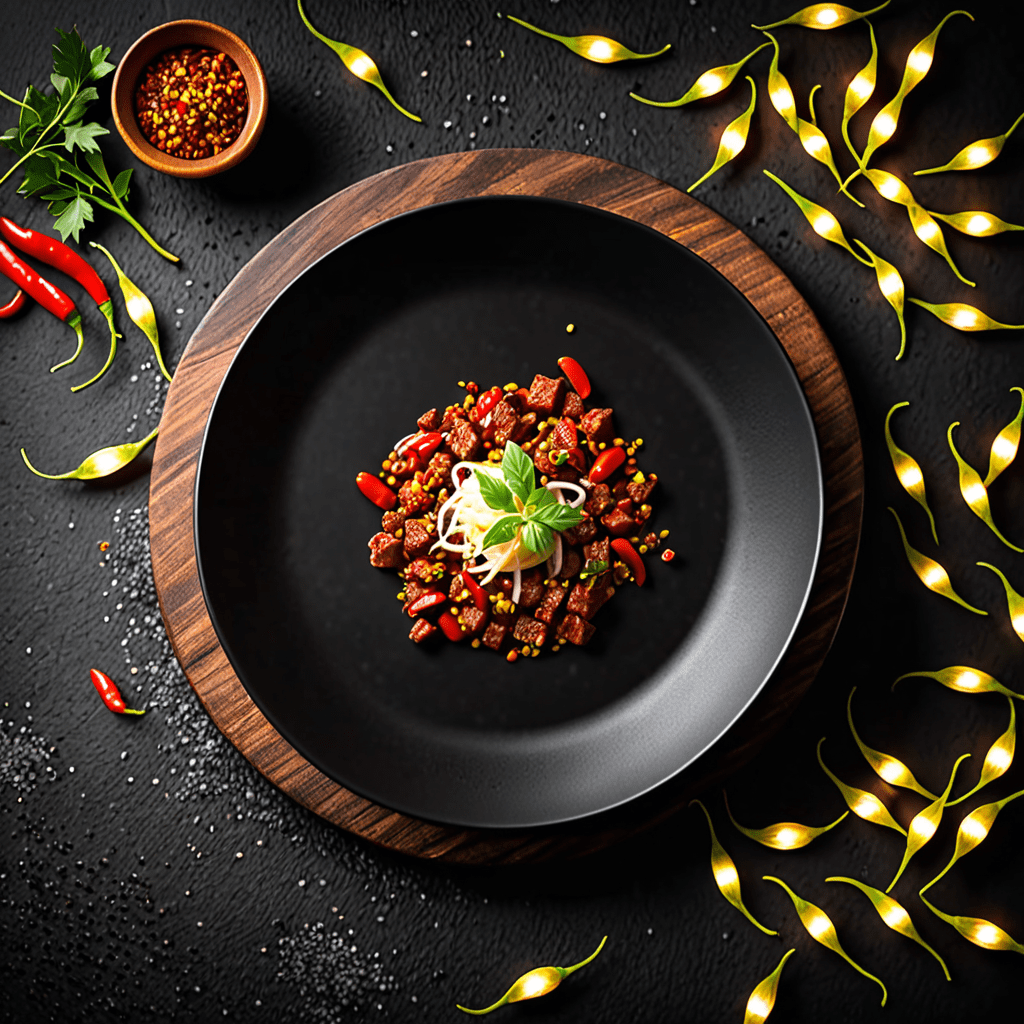
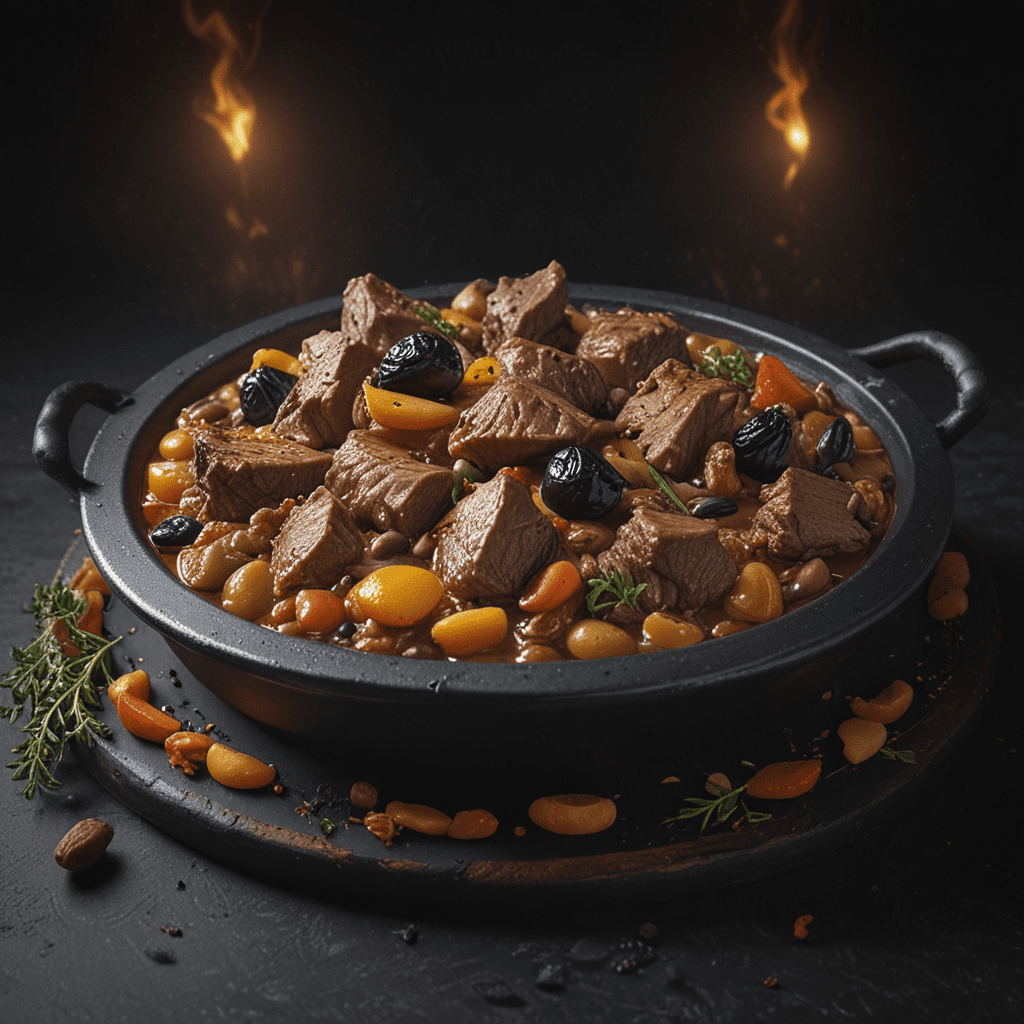
“Savor the Flavor: A Classic Homemade Chili Brick Recipe for Your Culinary Adventure”
Savor the Flavor: A Classic Homemade Chili Brick Recipe for Your Culinary Adventure
Introduction
Are you ready to embark on a culinary journey that will tantalize your taste buds and warm your soul? Look no further than this classic homemade chili brick recipe. Whether you’re a seasoned chef or a novice in the kitchen, crafting your own chili brick allows you to savor the rich blend of flavors and create a hearty dish that is perfect for any occasion. From cozy dinners at home to potlucks with friends, this timeless recipe is sure to become a staple in your cooking repertoire.
Ingredients
To create your homemade chili brick, you will need the following ingredients:
- 2 pounds ground beef
- 1 large onion, diced
- 3 cloves garlic, minced
- 1 can (14.5 ounces) diced tomatoes
- 1 can (15 ounces) tomato sauce
- 1 can (15 ounces) kidney beans, drained and rinsed
- 1 can (15 ounces) pinto beans, drained and rinsed
- 2 tablespoons chili powder
- 1 tablespoon cumin
- 1 teaspoon paprika
- 1 teaspoon oregano
- 1 teaspoon salt
- 1/2 teaspoon black pepper
- 1/4 teaspoon cayenne pepper (optional, for added heat)
Directions
Follow these simple steps to create your homemade chili brick:
- In a large pot or Dutch oven, brown the ground beef over medium heat, breaking it up with a spoon as it cooks.
- Add the diced onion and minced garlic to the pot, and cook until the onion is softened and the garlic is fragrant.
- Stir in the diced tomatoes, tomato sauce, kidney beans, pinto beans, chili powder, cumin, paprika, oregano, salt, black pepper, and cayenne pepper (if using).
- Bring the chili to a simmer, then reduce the heat to low and let it cook for 1-2 hours, stirring occasionally.
- Once the chili has thickened and the flavors have melded together, remove it from the heat and let it cool slightly.
- Line a loaf pan with plastic wrap, leaving enough overhang to cover the top of the chili. Carefully pour the chili into the prepared pan, smoothing the top with a spoon.
- Fold the overhanging plastic wrap over the top of the chili, pressing it down to remove any air pockets.
- Refrigerate the chili brick for at least 6 hours, or until it is completely chilled and set.
- To serve, invert the loaf pan onto a cutting board and carefully lift off the plastic wrap. Slice the chili brick into hearty portions and enjoy!
FAQ
Can I Freeze the Chili Brick for Later Use?
Yes, the chili brick can be wrapped tightly in plastic wrap and aluminum foil, then placed in a freezer-safe container for up to 3 months. To reheat, thaw the brick in the refrigerator overnight and then slice and warm in a saucepan or microwave.
Can I Customize the Ingredients to Suit My Preferences?
Absolutely! Feel free to adjust the spice levels, add additional vegetables, or swap out the types of beans to create a chili brick that perfectly matches your taste preferences.
What Serving Suggestions Pair Well with Chili Brick?
Chili brick is delicious served on its own, but you can also get creative with toppings such as shredded cheese, sour cream, green onions, or jalapenos. It pairs wonderfully with a side of cornbread, rice, or a crisp salad for a complete meal.


