Pickled Perfection: Mastering the Brining Process
Introduction
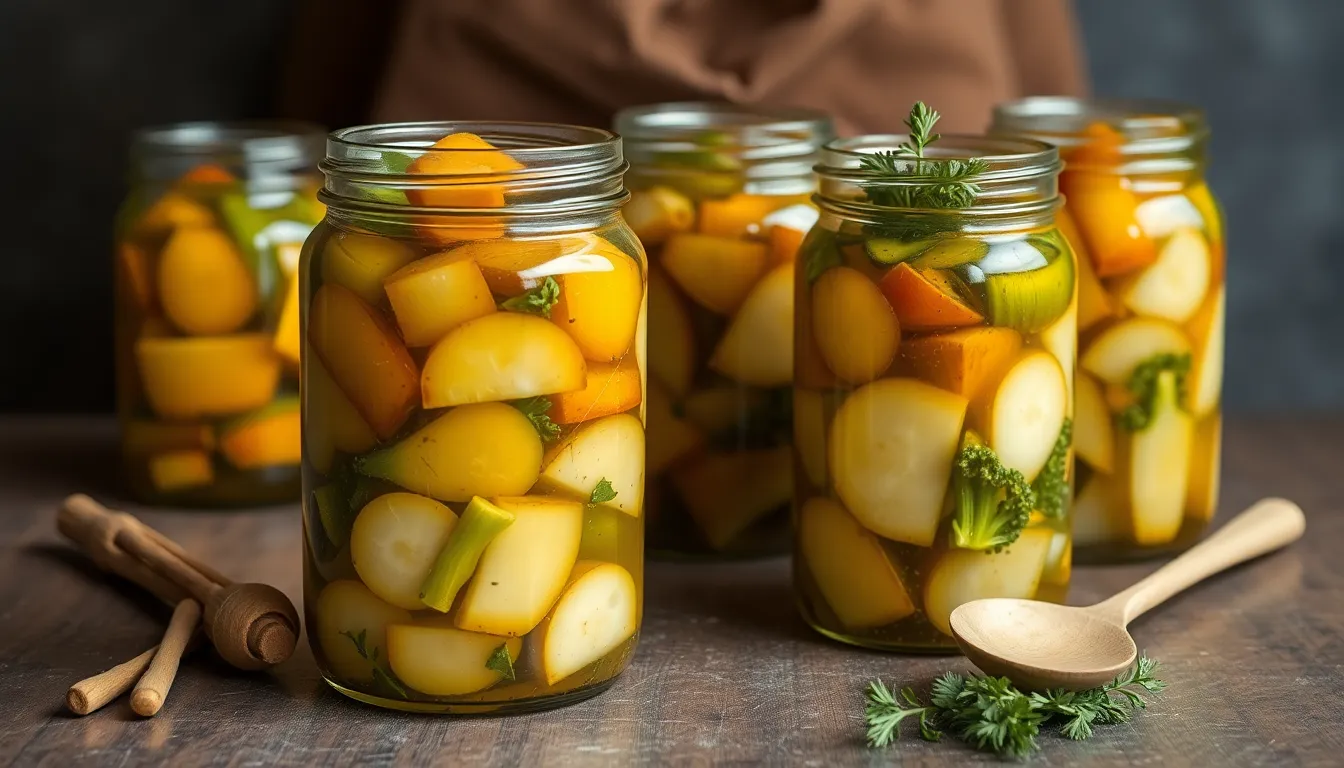
Pickling is more than a trend; it’s a culinary tradition that dates back centuries and has seen a resurgence in recent years. From tangy dill pickles to sweet and spicy banana peppers, pickled foods are beloved for their unique flavors and extended shelf life. At the heart of this preservation method lies the brining process, a crucial technique that requires a fine understanding of ingredients and ratios to achieve the perfect balance.
Mastering the brining process not only allows you to create delicious pickled items but also opens the door to experimenting with flavors and textures that can elevate your dishes. In this blog post, we’ll dive deep into the art and science of brining, empowering you to create your own pickled perfection!
So, buckle up as we explore why pickled foods are not just a fleeting culinary fad, but a timeless preservation method that can enhance your kitchen repertoire.
Section 1: The Basics of Brining
1.1 What is Brining?
Brining is the process of soaking food in a saltwater solution, which helps to preserve the food while enhancing its flavor and texture. The primary purpose of brining is to prevent spoilage, but it also infuses flavors and alters the texture of the food, making it more succulent and tasty.
While pickling and brining are often used interchangeably, they differ in their methods and results. Pickling typically involves the use of vinegar and spices to preserve food, while brining mainly focuses on salt and water. In many cases, pickling can be seen as a specific type of brining.
1.2 The Science Behind Brining
The science of brining is rooted in the principle of osmosis. When food is submerged in a brine solution, water moves in and out of the food, balancing the concentration of salt inside and outside the cells. This process not only helps to draw out excess moisture but also allows salt to penetrate the food, infusing it with flavor.
Understanding salt concentration is crucial in the brining process. Too much salt can result in overly salty food, while too little won’t adequately preserve or flavor the food. Striking the right balance is key to successful brining.
Section 2: Essential Ingredients for Brining
2.1 Key Ingredients
The essential ingredients for a basic brine include:
- Water: The base for your brining solution.
- Salt: The primary preservative that imparts flavor and affects texture.
- Sugar: Optional, but can balance the saltiness and add sweetness.
- Vinegar: Important for pickling, providing acidity and flavor.
In addition to these basics, you can enhance your brine with a variety of optional flavor enhancers such as:
- Spices (e.g., peppercorns, mustard seeds, coriander)
- Herbs (e.g., dill, thyme, bay leaves)
- Aromatics (e.g., garlic, onion, ginger)
2.2 Recommended Ratios
| Food Type | Water | Salt | Sugar | Vinegar | Brining Time |
|---|---|---|---|---|---|
| Vegetables | 4 cups | 1/4 cup | 2 tbsp | 1 cup | 1-2 days |
| Meats | 1 gallon | 1 cup | 1/2 cup | N/A | 12-24 hours |
| Fish | 4 cups | 1/2 cup | 1/4 cup | N/A | 1-4 hours |
| Fruits | 4 cups | 1/4 cup | 1/2 cup | 1 cup | 24-48 hours |
Section 3: The Brining Process
3.1 Preparing the Brine
Creating the perfect brine is straightforward. Follow these steps:
- Combine Ingredients: In a pot, combine water, salt, sugar (if using), and any additional spices or aromatics.
- Heat the Mixture: Bring the mixture to a boil, stirring until the salt and sugar dissolve completely.
- Cool the Brine: Remove from heat and let the brine cool to room temperature. For faster cooling, you can place it in the refrigerator.
- Submerge Your Food: Once cooled, place your food in a suitable container and pour the brine over it, ensuring it’s fully submerged.
Tips for balancing flavors:
- Start with basic ratios and adjust to your taste.
- Taste the brine before adding food; it should be flavorful but not overpowering.
- Experiment with different spices and herbs to find your perfect mix.
3.2 Choosing the Right Container
Selecting the appropriate container for brining is essential. Here are some options:
- Glass Jars: Ideal for small batches and easy to monitor.
- Plastic Containers: Lightweight and usually come with lids. Ensure they are food-safe.
- Ceramic Crocks: Often used for larger batches and traditional pickling.
Safety tips:
- Always use food-safe containers to avoid chemical leaching.
- Avoid metal containers, as they can react with the brine.
- Make sure your chosen container is clean and free of contaminants.
3.3 Brining Techniques
There are two primary brining techniques:
- Immersion Brining: Food is fully submerged in the brine solution, ensuring even flavor and moisture distribution.
- Dry Brining: Salt is rubbed directly onto the food. This method is commonly used for meats and results in a moist final product without the need for a wet brine.
To ensure even brining:
- Make sure the food is fully submerged in the brine.
- Use a weight to keep food underwater if necessary.
- Turn the food occasionally during the brining process to ensure even exposure.
Section 4: Common Mistakes to Avoid
4.1 Over-Brining
Over-brining can lead to excessively salty or mushy food. Signs of over-brining include:
- Food that tastes overly salty
- Mushy or unappetizing texture
To avoid over-brining:
- Follow recommended brining times for different foods.
- Taste a small piece of food around halfway through the brining process.
4.2 Ignoring Cleanliness
Hygiene is paramount in the brining process to prevent spoilage and contamination. Best practices include:
- Always sterilize equipment and containers before use.
- Use clean utensils when handling food.
- Wash hands thoroughly before starting the brining process.
Section 5: Advanced Brining Techniques
5.1 Experimenting with Flavors
Once you’re comfortable with basic brining, consider experimenting with unique flavor combinations to tailor your brines. Here are some ideas:
- Citrus Brine: Add lemon or orange zest for a fresh, zesty flavor.
- Spicy Brine: Incorporate chili flakes or hot sauce for a kick.
- Herb-Infused Brine: Use fresh herbs like rosemary or thyme for aromatic notes.
Feel free to mix and match flavors to discover your favorite brining combinations!
5.2 Creative Uses for Brined Foods
Brined foods are incredibly versatile and can be used in a variety of dishes. Here are some suggestions:
- Salads: Add pickled vegetables to fresh salads for a tangy crunch.
- Sandwiches: Use pickles or pickled onions to elevate your sandwiches.
- Charcuterie Boards: Offer an array of pickled items alongside cheeses and cured meats.
Let your creativity run wild by incorporating pickled items into your favorite recipes!
Conclusion
Mastering the brining process is key to creating perfect pickled foods that tantalize the taste buds and elevate your culinary creations. By understanding the science behind brining, choosing the right ingredients, and avoiding common pitfalls, you can refine your pickling skills and discover new flavor dimensions.
We encourage you to try different brining methods and share your results with friends, family, and us! We’d love to hear about your favorite brining recipes or experiences in the comments below.
Additional Resources
For further reading and exploration of pickling and brining, check out the following resources:
- Books on Pickling and Brining
- Articles about Food Preservation Techniques
- Videos on Brining and Pickling Methods
Also, don’t forget to download our printable PDF of brining ratios and tips!


