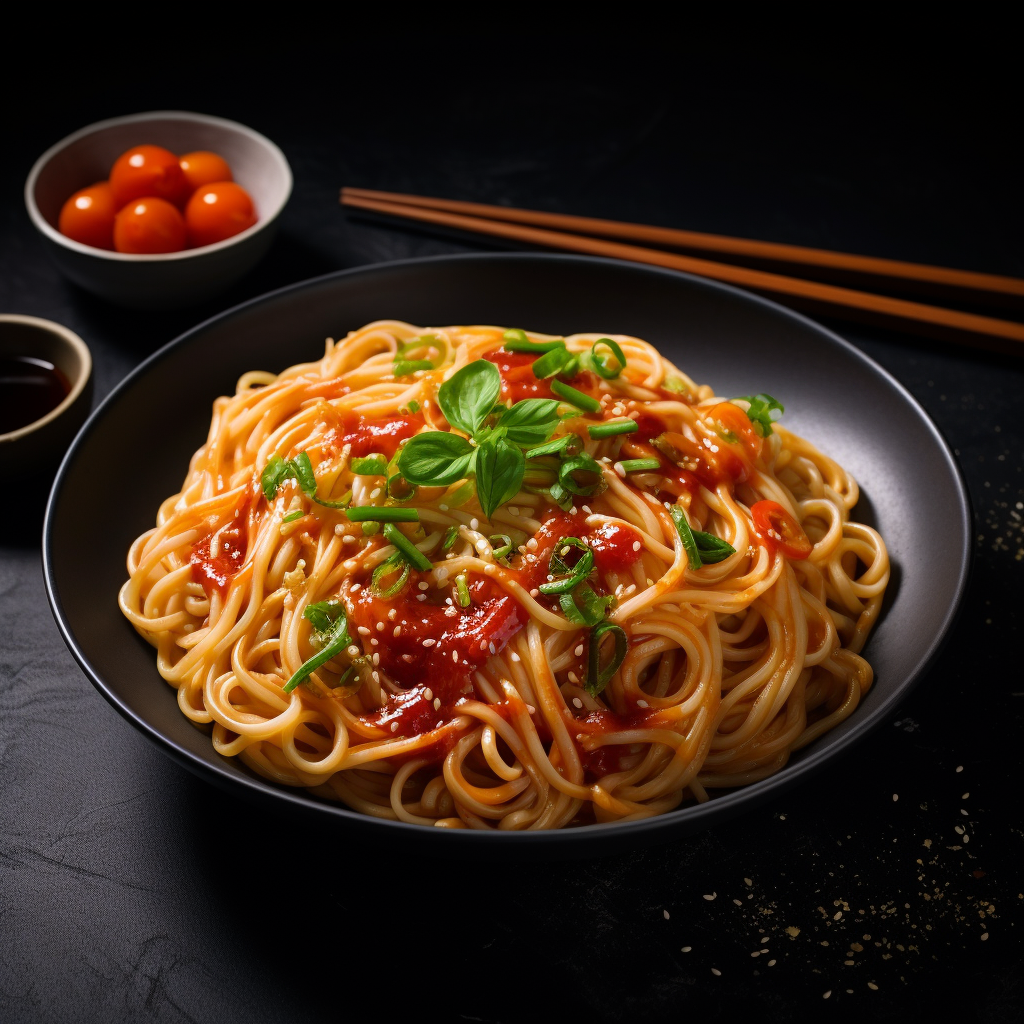
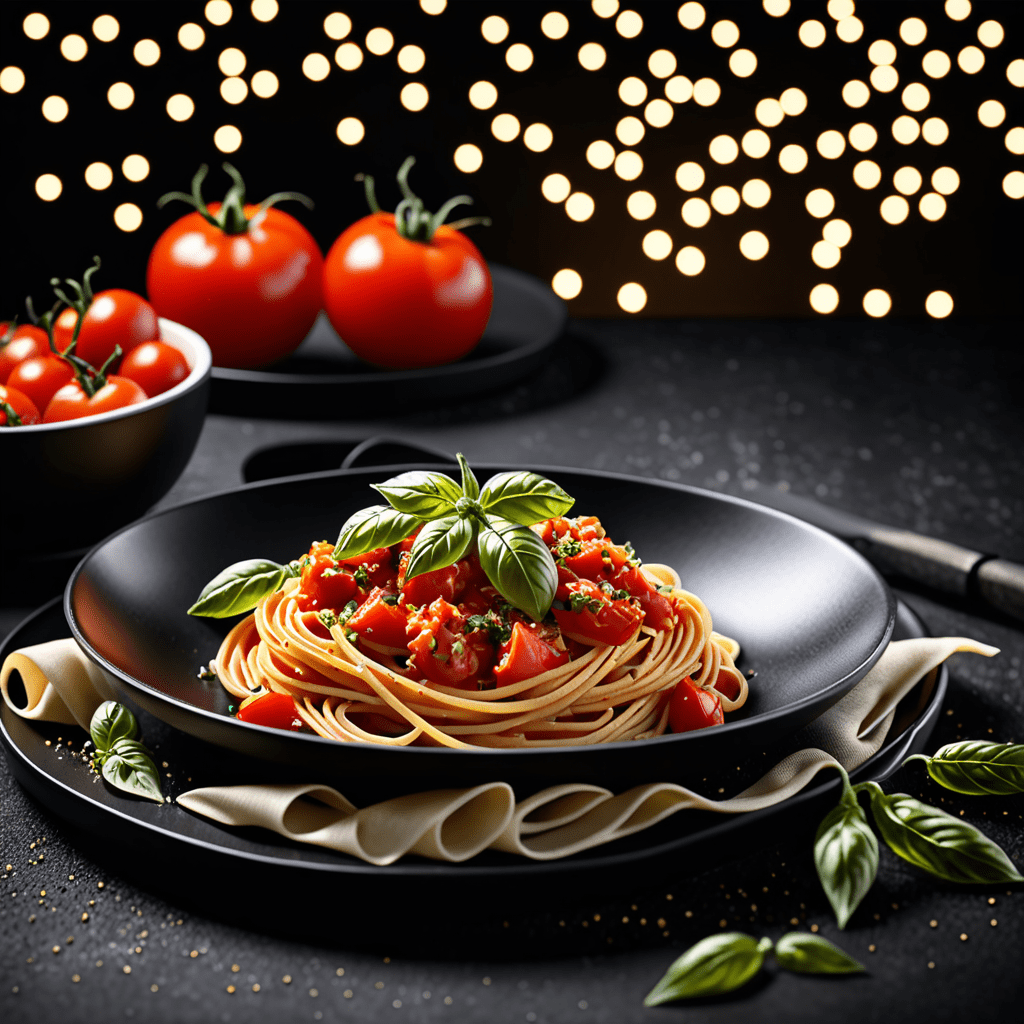
Miso Pasta Recipe: A Delicious and Easy Way to Get Your
Introduction
Are you looking for a delicious and easy pasta recipe that will impress your family and friends? Look no further than miso pasta! This Japanese-inspired dish combines the rich umami flavor of miso with the comforting taste of pasta. Whether you’re a beginner in the kitchen or a seasoned chef, this miso pasta recipe is sure to become a favorite in your repertoire. Let’s dive in and learn how to make this mouthwatering dish!
Ingredients
To make miso pasta, you’ll need the following ingredients:
- 8 ounces of your favorite pasta
- 2 tablespoons of white miso paste
- 1 tablespoon of olive oil
- 1 small onion, finely chopped
- 2 cloves of garlic, minced
- 1 cup of mushrooms, sliced
- 1 cup of cherry tomatoes, halved
- 1 cup of vegetable broth
- 1 cup of heavy cream
- Salt and pepper to taste
- Fresh parsley for garnish (optional)
Directions
Follow these simple steps to create a delicious miso pasta:
- Cook the pasta: Bring a large pot of salted water to a boil. Cook the pasta according to the package instructions until al dente. Drain and set aside.
Sauté the aromatics: In a large skillet, heat the olive oil over medium heat. Add the chopped onion and minced garlic, and sauté until they become translucent and fragrant, about 2-3 minutes.
Add the mushrooms: Add the sliced mushrooms to the skillet and cook until they start to soften, about 5 minutes.
Prepare the miso sauce: In a small bowl, whisk together the white miso paste and vegetable broth until well combined. Add the miso sauce to the skillet and stir to coat the ingredients evenly.
Simmer the sauce: Pour in the heavy cream and cherry tomatoes, and season with salt and pepper to taste. Bring the mixture to a simmer and let it cook for about 5 minutes, allowing the flavors to meld together.
Combine the pasta and sauce: Add the cooked pasta to the skillet and stir to coat it with the miso sauce. Cook for an additional 2-3 minutes, or until the pasta is heated through.
Serve and garnish: Remove the skillet from the heat and divide the miso pasta among serving plates. If desired, sprinkle some fresh parsley on top for an added pop of color and freshness.
Now that you know how to make miso pasta, it’s time to enjoy this delectable dish! Serve it as a main course or a side dish alongside your favorite protein or vegetable. The umami flavors of the miso combined with the creamy pasta will delight your taste buds and leave you wanting more.
FAQ
Q: Can I use other types of miso paste?
A: Absolutely! While this recipe calls for white miso paste, you can experiment with other varieties such as red miso or yellow miso. Each type has its own unique flavor profile, so feel free to choose the one that suits your taste preferences.
Q: Can I make this recipe vegetarian or vegan?
A: Yes, you can easily adapt this recipe to be vegetarian or vegan. Simply use vegetable broth instead of chicken or beef broth, and substitute the heavy cream with a non-dairy alternative such as coconut milk or almond milk.
Q: Can I add other vegetables or proteins to the miso pasta?
A: Definitely! This recipe serves as a great base, and you can customize it to your liking. Consider adding vegetables like spinach, bell peppers, or broccoli, or proteins such as tofu, shrimp, or chicken for added texture and flavor.
Q: How long does miso pasta keep in the refrigerator?
A: Miso pasta can be stored in an airtight container in the refrigerator for up to 3 days. Reheat it gently on the stovetop or in the microwave before serving.
Q: Can I freeze miso pasta?
A: It’s not recommended to freeze miso pasta, as the texture and flavor may change upon thawing. It’s best enjoyed fresh or stored in the refrigerator for a few days.
We hope you enjoy making and savoring this delicious miso pasta! It’s a delightful fusion of Japanese and Italian flavors that will satisfy your taste buds and impress your loved ones. Give it a try and discover a new favorite dish in your culinary repertoire. Happy cooking!