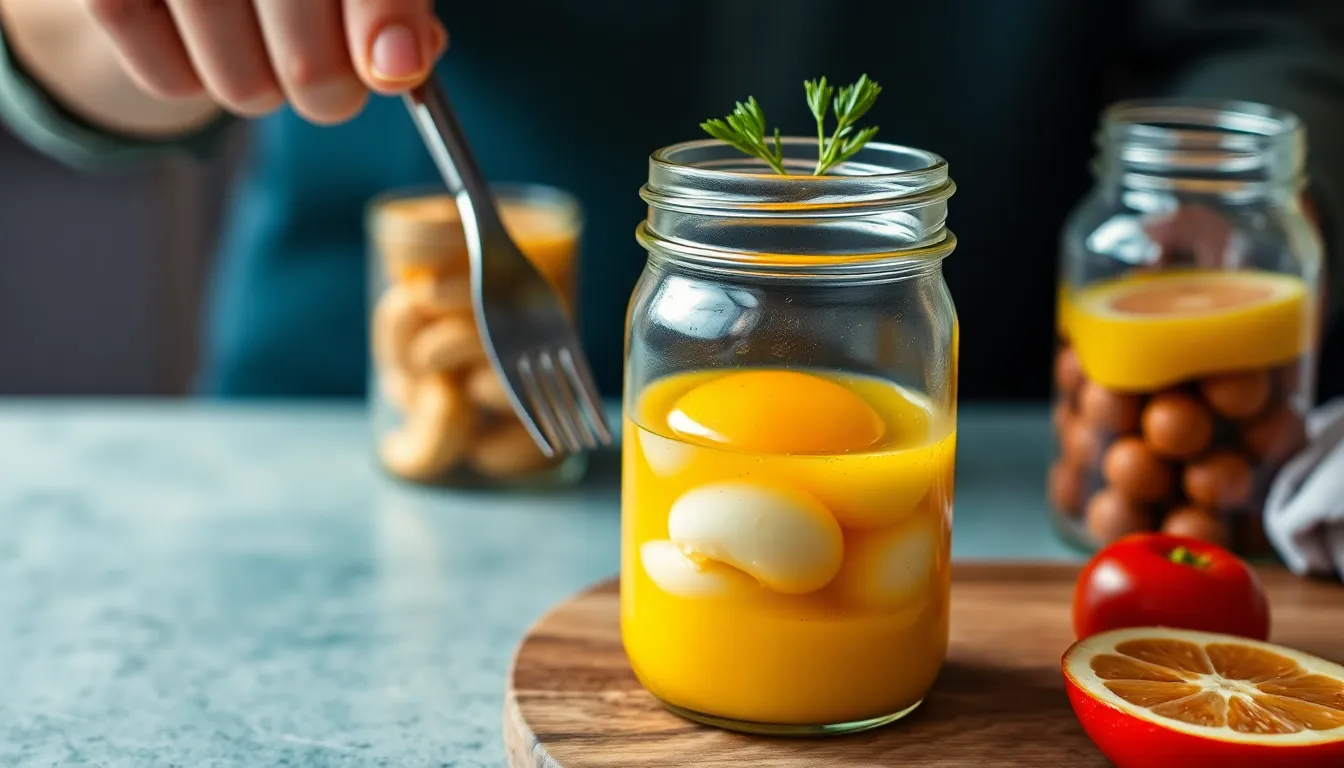
How to Poach Eggs in a Jar: A Fun Method
Poached eggs have captivated home cooks and culinary enthusiasts alike for decades. With their delicate texture and rich flavor, they add a gourmet touch to any meal. Whether enjoyed on toast, incorporated into salads, or served as a luxurious brunch item, poached eggs are versatile and delicious. Today, we’re going to explore an innovative method of poaching eggs that not only simplifies the process but also adds an element of fun to your cooking routine—poaching eggs in a jar!
This unique cooking technique allows you to achieve perfectly poached eggs with minimal fuss and maximum flavor. By using mason jars or heatproof glass jars, you can control the cooking process while avoiding the common pitfalls of traditional poaching methods. In this article, we will cover everything you need to know about poaching eggs in a jar, from the essential ingredients and equipment to serving suggestions and troubleshooting tips. Let’s dive in!
What You Need
Ingredients:
- Fresh eggs
- Water
- Optional: Salt, pepper, and other seasonings
Equipment:
- Mason jars or heatproof glass jars
- Pot or large saucepan
- Slotted spoon
- Timer
Quick Reference Table:
| Ingredients | Equipment |
|---|---|
| Fresh eggs | Mason jars |
| Water | Pot or large saucepan |
| Optional seasonings | Slotted spoon |
| Timer |
Preparing the Jars
Before you can start poaching, it’s essential to prepare your jars properly. Here’s a step-by-step guide:
- Greasing the jars: Depending on your preference and the type of egg you’re using, you may want to lightly grease the inside of the jars with a small amount of oil or butter. This helps prevent the eggs from sticking and makes for easier cleanup.
- Adding seasonings: If you like a little extra flavor, add a pinch of salt, pepper, or your favorite herbs into the jar before cracking the eggs. This infuses the eggs with delightful undertones.
- How many eggs per jar: Typically, one egg per jar works best for this method. However, if you have larger jars, you may be able to fit two eggs without overcrowding.
The Poaching Process
Now that your jars are prepared, let’s get into the poaching process! Follow these steps for perfectly poached eggs:
- Fill the pot with water: Choose a pot or large saucepan and fill it with water, about halfway full. Heat the water on medium until it comes to a gentle simmer, not a rolling boil.
- Crack the eggs into the prepared jars: Carefully crack each egg into its own jar, ensuring not to break the yolk.
- Secure the lids: If your jars have lids, secure them loosely. If not, you can cover the tops with aluminum foil, which helps trap steam and heat.
- Place jars in the simmering water: Gently lower the jars into the simmering water, ensuring they are fully submerged but not touching the bottom of the pot.
- Set the timer: Depending on how runny you like your yolks, set the timer for:
- 4 minutes for a runny yolk
- 6 minutes for a slightly firmer yolk
- 8 minutes for a fully cooked yolk
Tips for achieving the perfect poach: Keep an eye on the water temperature. It should remain at a simmer throughout the cooking process. If the water gets too hot, it may cause the eggs to overcook.
Serving Suggestions
Poached eggs in jars can be enjoyed in various ways. Here are some delightful serving suggestions:
- On toast: Serve your poached eggs over buttered toast, topped with avocado, smoked salmon, or your favorite spreads.
- Over salads: Place the poached eggs atop fresh greens, drizzled with vinaigrette for a light meal.
- With hollandaise sauce: Elevate your poached eggs by serving them with rich hollandaise sauce for a classic Eggs Benedict experience.
Pairing suggestions: Consider serving your poached eggs with sides like crispy bacon, fresh fruit, or even a glass of freshly squeezed juice or a mimosa for a delightful brunch experience.
Troubleshooting Common Issues
While poaching eggs in a jar is relatively straightforward, you may encounter some common issues. Here’s how to identify and fix them:
- Eggs not cooking properly: Ensure that the water is at a consistent simmer and not boiling. Adjust the timer based on the size of the eggs and the desired doneness.
- Jars cracking: Make sure the jars are heatproof and avoid putting them in boiling water directly. Gradually increase the heat to prevent thermal shock.
Tips to improve the technique: With practice, you’ll become more familiar with timing and water temperature, leading to perfect poached eggs every time!
Fun Variations
Once you’ve mastered the basic method, why not experiment with some creative twists? Here are a few ideas:
- Adding herbs or spices: Incorporate fresh herbs like dill, chives, or parsley directly into the jar for added flavor.
- Mixing in cheese or vegetables: Consider adding grated cheese or chopped vegetables such as spinach, tomatoes, or mushrooms to your jars before cracking the eggs for a heartier meal.
- Different types of jars: Experiment with various jar sizes, from small jelly jars for single servings to larger quart jars for family-style meals.
Poaching eggs in a jar not only simplifies the cooking process but also adds a whimsical touch to your breakfast or brunch. With just a few simple ingredients and a little creativity, you can create a delightful and impressive dish that’s sure to impress your family and friends. Enjoy the fun of poaching eggs in jars, and don’t forget to share your delicious creations!


