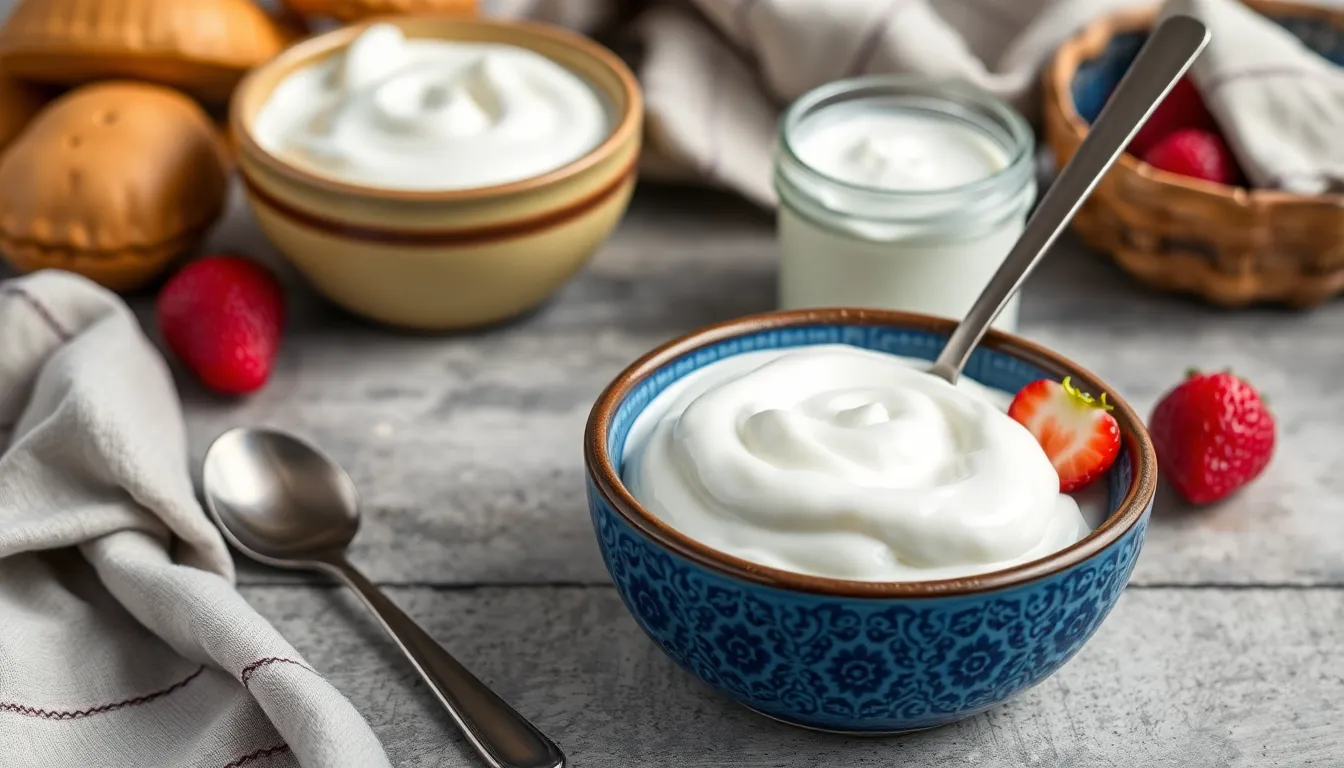
How to Make Your Own Yogurt at Home
Yogurt is not just a delicious treat; it is a powerhouse of health benefits. Packed with probiotics, vitamins, and minerals, homemade yogurt can aid digestion, boost immunity, and even enhance your mood. In this comprehensive guide, we will delve into the art of yogurt-making, providing you with everything you need to know to whip up this creamy delight right in your own kitchen. From understanding the ingredients to step-by-step instructions, get ready to embark on a culinary adventure!
Why Make Yogurt at Home?
There are several compelling reasons to consider making yogurt at home. Here are a few:
- Cost-effectiveness: Making your own yogurt can save you money compared to purchasing store-bought options.
- Control over ingredients: You can ensure no preservatives or additives are included, making it a healthier choice.
- Customization: Tailor the flavors, sweetness, and thickness to suit your personal preferences.
Ingredients Needed
To get started making yogurt at home, you will need just a couple of basic ingredients:
- Milk: You can choose whole, low-fat, or non-dairy milk options.
- Yogurt starter: This can be store-bought yogurt containing live cultures or a specialized yogurt starter culture.
Comparison of Milk Types
| Milk Type | Fat Content | Flavor Profile | Recommended For |
|---|---|---|---|
| Whole Milk | 3.25% | Rich and creamy | Thick yogurt lovers |
| Low-Fat Milk | 1-2% | Balanced flavor | Health-conscious individuals |
| Non-Dairy Milk | Varies | Depends on the type (almond, soy, coconut) | Vegans and lactose-intolerant individuals |
Equipment Required
Having the right tools can make your yogurt-making experience much smoother. Here’s a list of necessary equipment:
- Heavy-bottomed pot
- Thermometer
- Whisk
- Measuring cups
- Clean jars or containers for storage
- Yogurt maker or alternative methods (like an oven or cooler)
Step-by-Step Instructions
Step 1: Preparing the Milk
Begin by preparing the milk. Start by heating it in a heavy-bottomed pot over medium heat.
- Heat the milk to 180°F (82°C) to kill any unwanted bacteria.
- Once heated, remove the pot from heat and allow the milk to cool down to 110°F (43°C).
Step 2: Adding the Yogurt Starter
Once your milk has cooled, it’s time to introduce the yogurt starter.
- Take a small amount of the cooled milk and mix it with your yogurt starter in a separate bowl.
- Whisk them together until smooth, ensuring that the starter is evenly distributed.
- Pour this mixture back into the larger pot of cooled milk and stir gently to combine.
Step 3: Incubation
The next step is to incubate your yogurt mixture to allow the cultures to ferment.
- Keep the mixture at a stable temperature (ideally around 110°F or 43°C) for several hours. This can be done using:
- A yogurt maker, which maintains the perfect temperature.
- Oven: Preheat the oven slightly and turn it off, then place the yogurt inside with the light on for warmth.
- A cooler filled with warm water around the jars, ensuring it stays warm but not hot.
Step 4: Checking for Doneness
After about 6 to 12 hours, it’s time to check your yogurt.
- Look for visual cues: the yogurt should have thickened and developed a tangy flavor.
- For thicker yogurt, you can strain it using a cheesecloth or a fine-mesh strainer to remove some of the whey.
Step 5: Cooling and Storing
Once your yogurt has reached the desired taste and texture, it’s time to store it properly.
- Transfer the yogurt into clean jars or containers, leaving some space at the top.
- Seal the jars and refrigerate them. Homemade yogurt can last about 2 weeks in the fridge.
Flavoring Your Yogurt
Now that you’ve made plain yogurt, the fun part begins! You can customize your yogurt with various flavors and toppings:
- Fruits: Add fresh or dried fruits such as berries, bananas, or mango.
- Sweeteners: Stir in honey, maple syrup, or agave for sweetness.
- Nuts and seeds: Add a crunch with almonds, walnuts, chia seeds, or flaxseeds.
- Spices: Experiment with cinnamon, vanilla, or even a hint of cardamom.
Common FAQs About Homemade Yogurt
1. Can I use low-fat or non-dairy milk?
Yes! Low-fat and non-dairy milk can be used, but the texture and flavor will vary. Each type has its unique characteristics.
2. What if my yogurt doesn’t set?
There could be several reasons for this, including insufficient incubation time or the milk not being heated properly. Always ensure your starter has live cultures.
3. How can I tell if my yogurt is bad?
If you notice any off-smells, unusual colors, or mold, it’s best to discard the yogurt. Fresh yogurt should have a tangy smell and a creamy texture.
Conclusion
Making yogurt at home is not only a rewarding experience but also a healthy choice that allows for complete control over ingredients and flavors. By following the steps outlined in this article, you can create delicious, creamy yogurt that suits your taste preferences. Plus, once you get the hang of it, you can experiment endlessly with flavors and textures. So roll up your sleeves, gather your ingredients, and start your journey into the delightful world of homemade yogurt!


