How to Make Your Own Seed Sprouts at Home
Introduction
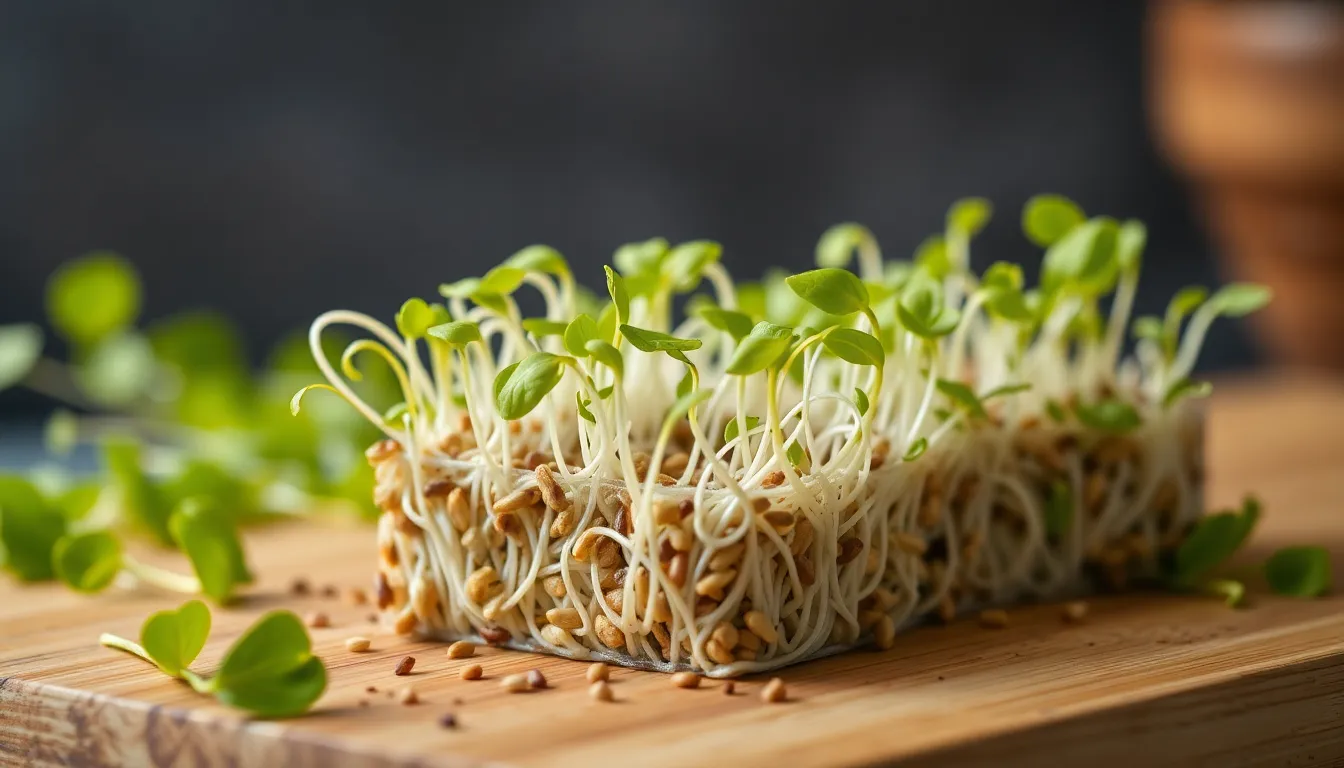
Seed sprouts are tiny, nutrient-packed powerhouses that can transform your meals from ordinary to extraordinary. These little wonders are not only delicious but also boast a myriad of health benefits. From boosting your immune system to providing essential vitamins, sprouts have made their mark in the culinary world. In this article, we will explore the importance of growing your own sprouts, the nutritional benefits they offer, and a step-by-step guide on how to sprout seeds right at home.
Section 1: Understanding Seed Sprouts
1.1 What are Seed Sprouts?
Seed sprouts are germinated seeds that have been soaked in water and allowed to grow for a short period. They are typically consumed in their early stages of growth, which is when they are at their most nutrient-dense. Common types of sprouts include:
- Alfalfa: Delicate sprouts that are often used in salads and sandwiches.
- Broccoli: Known for their cancer-fighting properties, these sprouts are slightly crunchy and have a mild flavor.
- Mung Bean: These sprouts are widely used in Asian cuisine, particularly in stir-fries and soups.
1.2 Nutritional Benefits
Seed sprouts are a nutrition-packed addition to your diet:
- High in vitamins and minerals: They are rich in vitamins A, C, E, and K, along with essential minerals like calcium, iron, and magnesium.
- Antioxidant properties: Sprouts contain antioxidants that help combat oxidative stress in the body.
- Easy to digest: The sprouting process makes seeds easier to digest and increases their nutritional bioavailability.
Section 2: Choosing the Right Seeds
2.1 Types of Seeds to Use
When it comes to sprouting, not all seeds are created equal. Here’s a list of suitable seeds for sprouting:
- Alfalfa
- Broccoli
- Mung Bean
- Radish
- Lentils
- Chickpeas
Safety considerations: Always purchase seeds that are specifically marked for sprouting to ensure they are free from harmful contaminants.
2.2 Where to Buy Sprouting Seeds
You can find sprouting seeds at the following locations:
- Local health food stores: Many carry a variety of sprouting seeds.
- Online retailers: Websites like Amazon or specialty sprouting seed companies offer a wide selection.
Section 3: Equipment Needed
3.1 Basic Tools
To get started with sprouting seeds, you’ll need a few basic tools:
| Tool | Description |
|---|---|
| Glass jar | A quart-sized mason jar works well for most seeds. |
| Cheesecloth or mesh lid | To cover the jar and allow for air circulation while keeping seeds in. |
| Watering can or spray bottle | For rinsing and watering the seeds effectively. |
3.2 Optional Tools
While not strictly necessary, these items can make the process easier:
- Seed sprouter: A multi-tiered sprouting tray that can accommodate several different seeds at once.
- Digital scale: For accurately measuring seeds, especially if you’re sprouting multiple types.
Section 4: Step-by-Step Guide to Sprouting Seeds
4.1 Step 1: Soaking the Seeds
The first step in sprouting seeds is to soak them. Different seeds require different soaking times:
- Alfalfa: 4-6 hours
- Broccoli: 8-12 hours
- Mung Bean: 8-12 hours
Soaking is essential as it initiates the germination process and helps to soften the seed coat.
4.2 Step 2: Draining and Rinsing
After soaking, it’s time to drain and rinse the seeds:
- Use a mesh lid or cheesecloth to drain the soaking water.
- Rinse the seeds with fresh water, ensuring they are thoroughly cleaned.
Tip: Rinse seeds 2-3 times a day to keep them moist and prevent mold.
4.3 Step 3: Sprouting Process
After rinsing, place the jar in a warm, dark location. Ideal conditions for sprouting include:
- Temperature: 70-75°F (21-24°C)
- Humidity: Keep seeds moist but not waterlogged.
Rinse and drain the seeds every 8-12 hours until they begin to sprout, which typically takes 3-7 days depending on the seed type.
4.4 Step 4: Harvesting Your Sprouts
Once your sprouts have reached the desired length (generally 1-2 inches), it’s time to harvest:
- When to harvest: Look for healthy, green sprouts with no signs of mold.
- Storing sprouts: Rinse again before storing them in a sealed container in the refrigerator. They can typically last for about a week.
Section 5: Troubleshooting Common Issues
5.1 Mold Growth
Mold can be a common issue when sprouting seeds. Look for:
- White fuzzy spots on the sprouts.
- An unpleasant odor.
Prevention: Make sure to rinse seeds thoroughly and keep them in a well-ventilated area.
5.2 Poor Germination
If your seeds aren’t sprouting well, consider the following:
- Quality of seeds: Ensure they are fresh and suitable for sprouting.
- Water quality: Use clean, chlorine-free water.
- Temperature: Make sure the environment is warm enough.
5.3 Sprouts Taste Bitter
If your sprouts taste bitter, it could be due to:
- Over-matured sprouts: Harvest them sooner for a milder flavor.
- Light exposure: Ensure they are kept in the dark during the sprouting phase.
Section 6: Creative Ways to Use Sprouts
6.1 Recipes Featuring Sprouts
Incorporating sprouts into your meals is easy and delicious. Here are some creative ideas:
- Salads: Toss sprouts into salads for added crunch and nutrition.
- Sprout Sandwiches: Layer sprouts on your favorite sandwich for a fresh twist.
- Smoothies: Blend sprouts into smoothies for an extra nutrient boost.
Section 7: Nutritional Comparison Table
| Type of Sprout | Nutritional Benefits | Best Uses |
|---|---|---|
| Alfalfa | High in vitamins A, C, E | Salads, sandwiches |
| Broccoli | Rich in sulforaphane | Stir-fries, wraps |
| Mung Bean | Excellent protein source | Soups, Asian dishes |
Conclusion
Making your own seed sprouts at home is a rewarding and nutritious endeavor. With just a few simple steps and the right tools, you can enjoy the benefits of these tiny superfoods. From enhancing your meals to boosting your health, sprouts are a versatile addition to any diet. So gather your seeds, get sprouting, and enjoy the vibrant flavors and nutritional benefits they bring to your table!


