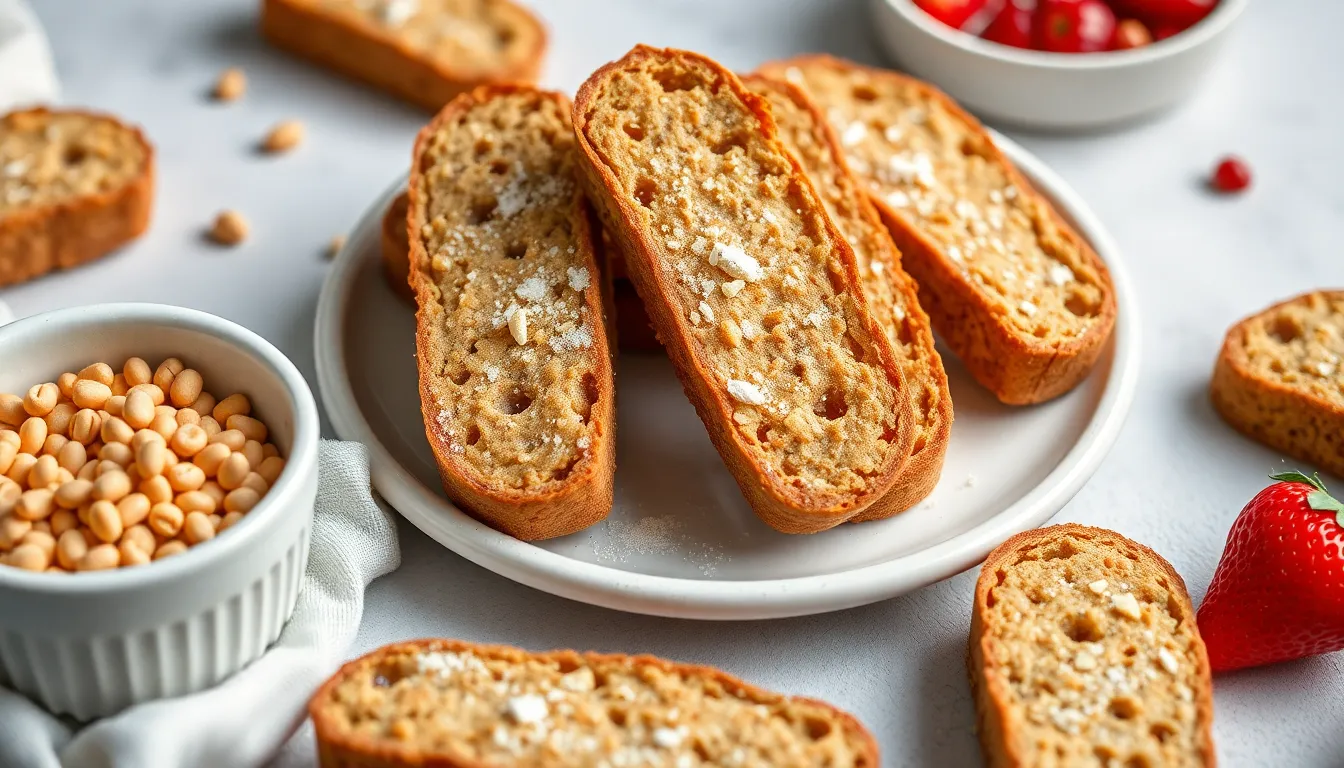
How to Make Homemade Biscotti: A Perfect Snack
I. Introduction
Biscotti, a delightful twice-baked Italian cookie, has a rich history that dates back to ancient Rome. Originally known as “biscotti di Prato,” these crunchy treats were designed to be long-lasting, making them the perfect snack for travelers. Their hard texture is ideal for dipping into coffee or tea, bringing out flavors and enhancing their delightful taste.
What makes biscotti a perfect snack? Their versatility! Biscotti can be enjoyed at any time of the day—whether you’re starting your morning with a cup of coffee or unwinding in the evening. They are crunchy, customizable, and simply delicious. In this article, we aim to guide you through the process of making homemade biscotti, exploring the benefits of crafting your own treats versus opting for store-bought alternatives.
Homemade biscotti allows you to control the ingredients, making them healthier and tailored to your taste. Plus, there’s nothing more satisfying than enjoying a treat made from scratch in your own kitchen.
II. Ingredients Needed
A. Basic Ingredients
To create the perfect biscotti, you’ll need a few basic ingredients:
- All-purpose flour
- Sugar
- Eggs
- Baking powder
- Salt
B. Optional Add-ins
Feel free to get creative! Biscotti can be enhanced with various add-ins to suit your taste:
- Nuts (almonds, walnuts, pecans, etc.)
- Dried fruits (cranberries, apricots, raisins, etc.)
- Chocolate chips (dark or white chocolate)
C. Ingredients List
| Ingredient | Quantity | Notes |
|---|---|---|
| All-purpose flour | 2 cups | Can substitute with almond flour for gluten-free |
| Sugar | 3/4 cup | Granulated or brown sugar works |
| Eggs | 3 large | Room temperature |
| Baking powder | 1 tsp | For leavening |
| Salt | 1/4 tsp | Adds flavor |
| Nuts (optional) | 1 cup | Choose your favorite! |
III. Equipment Needed
A. Essential Kitchen Tools
Before diving into the cooking process, gather the following essential kitchen tools:
- Mixing bowls
- Baking sheet
- Parchment paper
- Whisk
B. Optional Tools
While the essential tools will get the job done, consider these optional tools for an easier experience:
- Silicone mat for non-stick baking
- Serrated knife for clean slicing
IV. Step-by-Step Instructions
A. Preparation Steps
Follow these initial steps to prepare for baking your biscotti:
- Preheat the oven to 350°F (175°C).
- Prepare a baking sheet by lining it with parchment paper.
B. Mixing and Forming the Dough
Now let’s get mixing! Here’s how:
- In a large mixing bowl, combine the dry ingredients—flour, sugar, baking powder, and salt.
- In a separate bowl, whisk together the eggs until well beaten. Then, gradually mix the eggs into the dry ingredients until a dough forms.
- Fold in your choice of optional add-ins such as nuts, dried fruits, or chocolate chips.
C. Shaping the Biscotti
Once your dough is ready, it’s time to shape it:
- Divide the dough into two equal portions. On the prepared baking sheet, form each portion into a log shape, approximately 12 inches long and 2-3 inches wide.
- Make sure the logs are spaced at least 2 inches apart, as they will spread while baking.
D. Baking the First Time
Now for the moment of magic—baking your biscotti:
- Bake the logs in the preheated oven for 25-30 minutes, or until they are golden brown and firm to the touch.
- Once baked, remove them from the oven and allow them to cool for about 10 minutes.
E. Slicing and Second Baking
After the initial baking, it’s time to slice and bake again:
- Using a serrated knife, carefully slice each log diagonally into 1/2-inch thick pieces.
- Arrange the sliced biscotti cut-side down on the baking sheet.
- Bake the biscotti for an additional 10-15 minutes, or until they are crisp and golden. Flip them halfway through for even baking.
F. Cooling and Storage
Once your biscotti are done baking, remove them from the oven and let them cool completely on a wire rack. Once cooled, you can store them in an airtight container at room temperature for up to two weeks, or freeze them for longer storage.
V. Variations and Flavor Combinations
Now that you’ve mastered the basic biscotti recipe, try these exciting variations:
- Chocolate Hazelnut Biscotti: Add cocoa powder to the dry ingredients and fold in chopped hazelnuts and dark chocolate chips.
- Cranberry Almond Biscotti: Incorporate dried cranberries and slivered almonds for a fruity crunch.
- Italian Anise Biscotti: Add anise extract for a classic Italian flavor, perfect for coffee dipping.
- Maple Pecan Biscotti: Use maple syrup in place of sugar and fold in toasted pecans for a nutty sweetness.
VI. Conclusion
Making homemade biscotti is a rewarding experience that allows you to enjoy a delicious snack tailored to your preferences. With just a few simple ingredients and steps, you can create crunchy, flavorful cookies that are perfect for any occasion. Whether enjoyed with a cup of coffee, shared with friends, or given as a thoughtful gift, biscotti truly shines as a versatile treat.
So roll up your sleeves, gather your ingredients and kitchen tools, and get ready to impress your family and friends with your homemade biscotti! Enjoy the process, savor the flavors, and revel in the joy of baking.


