How to Blanch and Freeze Green Beans Like a Pro
Introduction
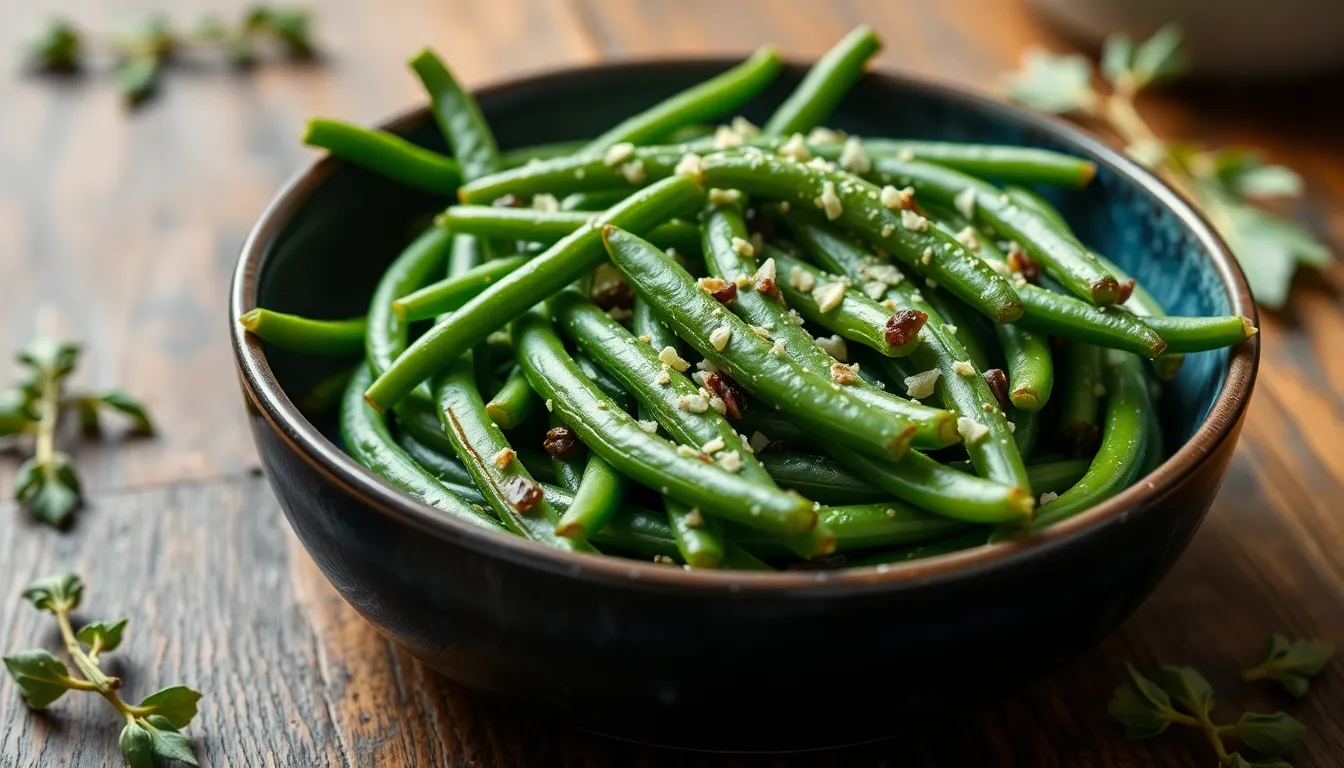
Green beans are a staple in many kitchens, celebrated for their vibrant color and crisp texture. Blanching and freezing them at their peak freshness not only extends their shelf life but also preserves their delightful taste and nutritional value. In this article, you will learn the art of blanching and freezing green beans, ensuring that you can enjoy this seasonal vegetable all year long.
By mastering this technique, you’ll be able to maintain the quality of your green beans, making them a convenient ingredient for any meal. Preserving the freshness of green beans is crucial for retaining their vitamins, minerals, and the bright green color that makes them so appealing.
Section 1: Understanding Blanching
What is Blanching?
Blanching is a cooking technique that involves briefly boiling food, followed by plunging it into ice water to stop the cooking process. This method is particularly beneficial for vegetables like green beans, as it helps to retain their vibrant color, fresh flavor, and crunchy texture.
Benefits of Blanching Green Beans
- Enhances the green color: Blanching helps to brighten the natural color of green beans, making them more visually appealing.
- Kills enzymes: By stopping the enzyme action, blanching prevents the loss of flavor, color, and texture.
- Reduces cooking time: Blanched green beans require less time to cook when you decide to use them in your recipes.
Section 2: Preparing Green Beans for Blanching
Selecting Fresh Green Beans
Choosing the best green beans is critical for successful blanching and freezing. Here are some tips on how to select fresh green beans:
- Look for bright green beans that are firm to the touch.
- Avoid beans that are dull, wrinkled, or have brown spots.
- Choose beans that are straight and snap easily when bent.
Essential Tools and Ingredients
Before you start the blanching process, gather the following tools and ingredients:
| Tools | Ingredients |
|---|---|
| Large pot | Fresh green beans |
| Slotted spoon | Salt (optional) |
| Ice water bowl | |
| Colander | |
| Kitchen timer |
Section 3: Step-by-Step Guide to Blanching Green Beans
Step 1: Prepare the Green Beans
Start by washing the green beans thoroughly under running water. Next, trim the ends using a sharp knife or kitchen scissors. If you prefer, you can also cut them into smaller pieces based on your preference or recipe requirements.
Step 2: Boil Water
Fill a large pot with water and bring it to a rolling boil. For enhanced flavor, you may add a tablespoon of salt to the water, although this is optional. The boiling water will help ensure that the green beans cook evenly.
Step 3: Blanch the Beans
Once the water is boiling, carefully add the prepared green beans to the pot. Use a slotted spoon to submerge them fully. Blanch the green beans for 2 to 3 minutes, depending on how crisp you want them. Keep a close eye on the timer to prevent overcooking.
To maintain temperature, avoid adding too many beans at once, as this can cool the water down. Work in batches if necessary.
Step 4: Ice Bath
Prepare a bowl filled with ice water while the beans are blanching. This ice bath is crucial as it stops the cooking process instantly. Once the time is up, quickly transfer the green beans to the ice water using the slotted spoon. Let them sit for the same amount of time they were blanched so they can cool completely.
Section 4: Freezing Blanched Green Beans
How to Properly Freeze Green Beans
Once the green beans have cooled, drain them in a colander to remove excess water. The next step is to freeze them correctly to ensure they maintain their quality. Place the blanched green beans in air-tight containers or freezer bags. Try to remove as much air as possible from the bags before sealing to prevent freezer burn.
Labeling and Storing
It’s important to label each container or bag with the date of freezing. This practice helps you keep track of freshness and allows you to use older beans first. Generally, frozen green beans can last up to 12 months in the freezer.
Section 5: Tips for Using Frozen Green Beans
How to Cook Frozen Green Beans
Cooking frozen green beans is easy and quick. Here are a few methods you can try:
- Microwave: Place frozen green beans in a microwave-safe dish with a splash of water. Cover and microwave for about 3-5 minutes until heated through.
- Sautéing: In a skillet, heat a tablespoon of oil and add the frozen beans. Sauté over medium heat for about 5-7 minutes, seasoning as desired.
- Boiling: Bring a pot of water to a boil, add the frozen beans, and cook for about 3-4 minutes until heated.
Recipe Ideas Using Frozen Green Beans
Frozen green beans can be a versatile ingredient in various dishes. Here are a few suggestions:
- Green Bean Casserole: A classic dish perfect for holidays or family gatherings.
- Shrimp Stir-Fry: Combine sautéed shrimp with frozen green beans and your favorite stir-fry sauce for a quick meal.
- Vegetable Soup: Add frozen green beans to your homemade vegetable soup for extra texture and flavor.
- Salads: Toss thawed green beans into salads for a nutritious crunch.
Conclusion
In summary, blanching and freezing green beans is a simple process that can significantly enhance your cooking experience. By following the steps outlined in this guide, you can preserve the freshness and quality of green beans, making them a convenient addition to your meals throughout the year.
Don’t hesitate to try blanching and freezing at home! Experiment with different recipes and share your experiences in the comments below. Your feedback can help fellow readers improve their cooking skills and enjoy the delightful taste of green beans all year round.
Additional Resources


