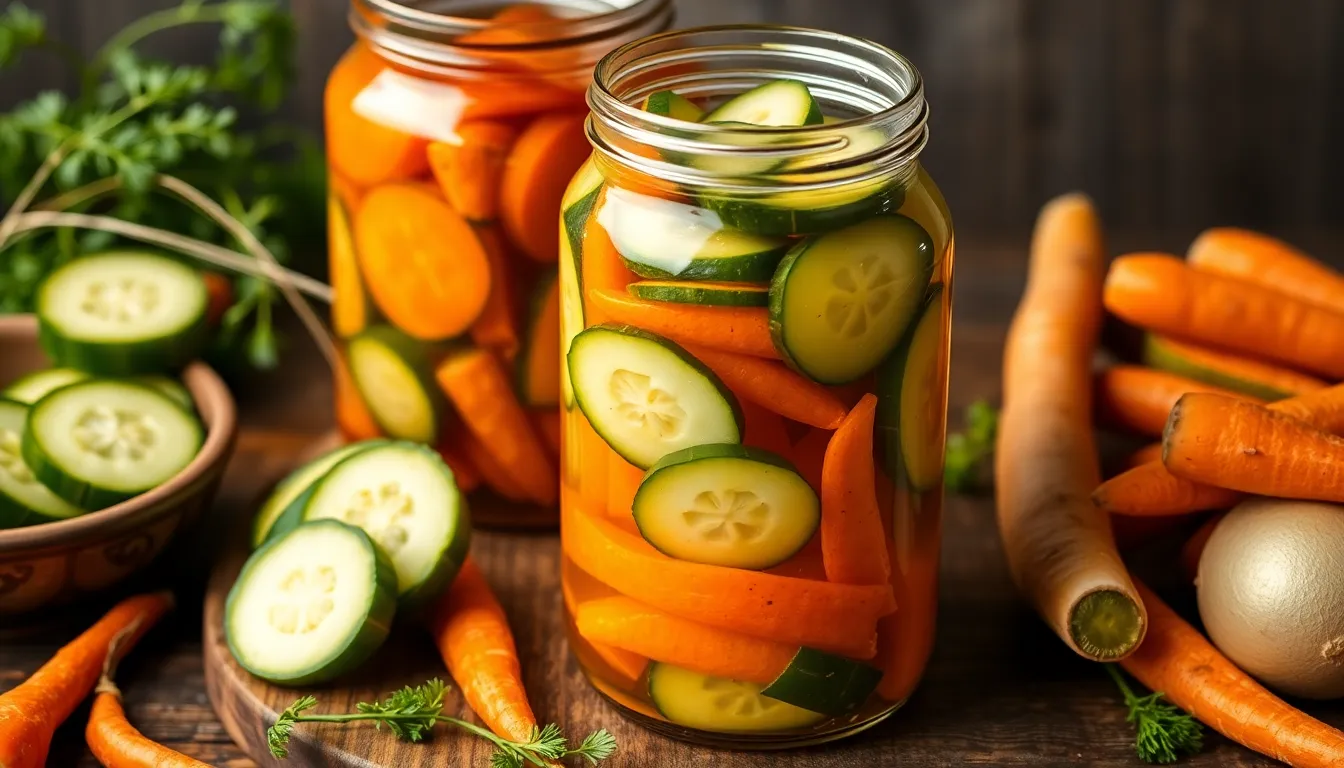
From Cucumbers to Carrots: Pickling Basics for All Veggies
Introduction
Pickling is a time-honored technique that has gained immense popularity in recent years. This method of preserving vegetables not only extends their shelf-life but also enhances their flavor and adds a delightful tanginess that can elevate any dish. Beyond just flavor, pickling can offer several health benefits, including improved digestion and the preservation of nutrients. In this blog post, we will guide you through the ins and outs of pickling, from understanding the basics to troubleshooting common issues. Let’s embark on this flavorful journey!
Section 1: Understanding Pickling
1.1 What is Pickling?
Pickling is a preservation method that involves immersing vegetables in a solution of vinegar, brine, or other acidic media. This process not only prolongs the life of the produce but also infuses it with unique flavors. Historically, pickling has been used across cultures, from Asian kimchi to European sauerkraut, showcasing its cultural significance as a method of food preservation.
1.2 Types of Pickling
There are two main types of pickling: quick pickling and fermentation.
- Quick Pickling: This method involves soaking vegetables in a vinegar-based solution for a short period, usually 24 hours, allowing for rapid flavor absorption. It’s perfect for those who want a quick and easy pickle.
- Fermentation: This traditional method relies on the natural bacteria present on vegetables to create lactic acid, which preserves the produce and gives it a unique tang. Fermentation takes longer, often several days to weeks, but the results are worth the wait.
Section 2: Essential Ingredients for Pickling
2.1 Basic Pickling Brine Recipe
The key to delicious pickles lies in the brine. Here’s a simple basic pickling brine recipe:
- 1 cup of vinegar (choose from white, apple cider, or rice wine)
- 1 cup of water
- 1 tablespoon of salt (kosher or pickling salt is recommended)
- 1 tablespoon of sugar (optional, adjust to taste)
Combine these ingredients in a saucepan, bring to a boil, and stir until the salt and sugar dissolve. Your brine is ready!
2.2 Selecting Your Vegetables
Many vegetables are suitable for pickling, including:
- Cucumbers
- Carrots
- Peppers
- Radishes
- Onions
- Beets
When choosing your produce, opt for fresh, firm vegetables without blemishes for the best results.
2.3 Flavoring Your Pickles
Enhancing the flavor of your pickles can be achieved with various spices and herbs. Here are some popular choices:
- Dill
- Garlic
- Mustard seeds
- Black peppercorns
- Red pepper flakes
Feel free to experiment with unique combinations, such as adding ginger for a zing or coriander for a sweet touch.
Section 3: Step-by-Step Pickling Process
3.1 Preparing Your Vegetables
Before pickling, you need to prepare your vegetables:
- Wash thoroughly to remove dirt and pesticides.
- Cut into desired shapes: slices, spears, or whole, depending on the vegetable and your preference.
3.2 Making the Pickling Brine
Follow the basic pickling brine recipe mentioned earlier. When selecting vinegar, consider the type’s flavor profile:
| Vinegar Type | Flavor Profile | Best Used For |
|---|---|---|
| White Vinegar | Sharp, acidic | Quick pickles, basic brine |
| Apple Cider Vinegar | Fruity, tangy | Sweet pickles, chutneys |
| Rice Vinegar | Mild, sweet | Asian-style pickles |
| Red Wine Vinegar | Rich, complex | Gourmet pickles, salads |
3.3 Packing the Jars
Once your vegetables are prepped and the brine is ready, it’s time to pack the jars:
- Place your vegetables into sterilized jars, packing them tightly without crushing.
- Pour the hot brine over the vegetables, ensuring they are completely submerged.
- Leave about half an inch of headspace at the top of the jar.
3.4 Processing the Jars
Sealing your jars properly is crucial for preservation:
- Wipe the rims of the jars with a clean cloth to remove any residue.
- Place the lids on and screw on the bands until they are fingertip-tight.
- Process the jars in a water bath canner for 10-15 minutes for long-term storage.
Section 4: Storage and Enjoyment
4.1 Storing Your Pickles
After processing, allow your jars to cool completely before storing them. Store your pickles in a cool, dark place, ideally around 50-70°F (10-21°C). Properly sealed jars can last for up to a year, though the flavor is best within the first few months.
4.2 When to Enjoy Your Pickles
While you might be eager to dive into your pickles, it’s recommended to wait at least a week for the flavors to develop fully. When they’re ready, enjoy them as:
- Snacks alongside cheese and crackers
- In salads for a tangy kick
- As a condiment with sandwiches or burgers
Section 5: Troubleshooting Common Pickling Issues
5.1 Common Problems and Solutions
Sometimes pickling doesn’t go as planned. Here are some common issues and how to solve them:
- Cloudy brine: This can occur if the vegetables were not rinsed properly. Always wash produce thoroughly.
- Spoilage: Ensure jars are sterilized and that the seals are tight before canning.
- Lack of flavor: Make sure to properly season your brine and allow adequate time for the pickles to develop flavor.
Conclusion
Pickling is more than just a preservation technique; it’s a creative way to explore flavors and enjoy your favorite vegetables year-round. As you get comfortable with the process, don’t hesitate to experiment with different vegetables and spice combinations. Pickling not only enhances the taste but also provides a satisfying sense of accomplishment. So grab your jars, gather your ingredients, and start your pickling adventure today!


