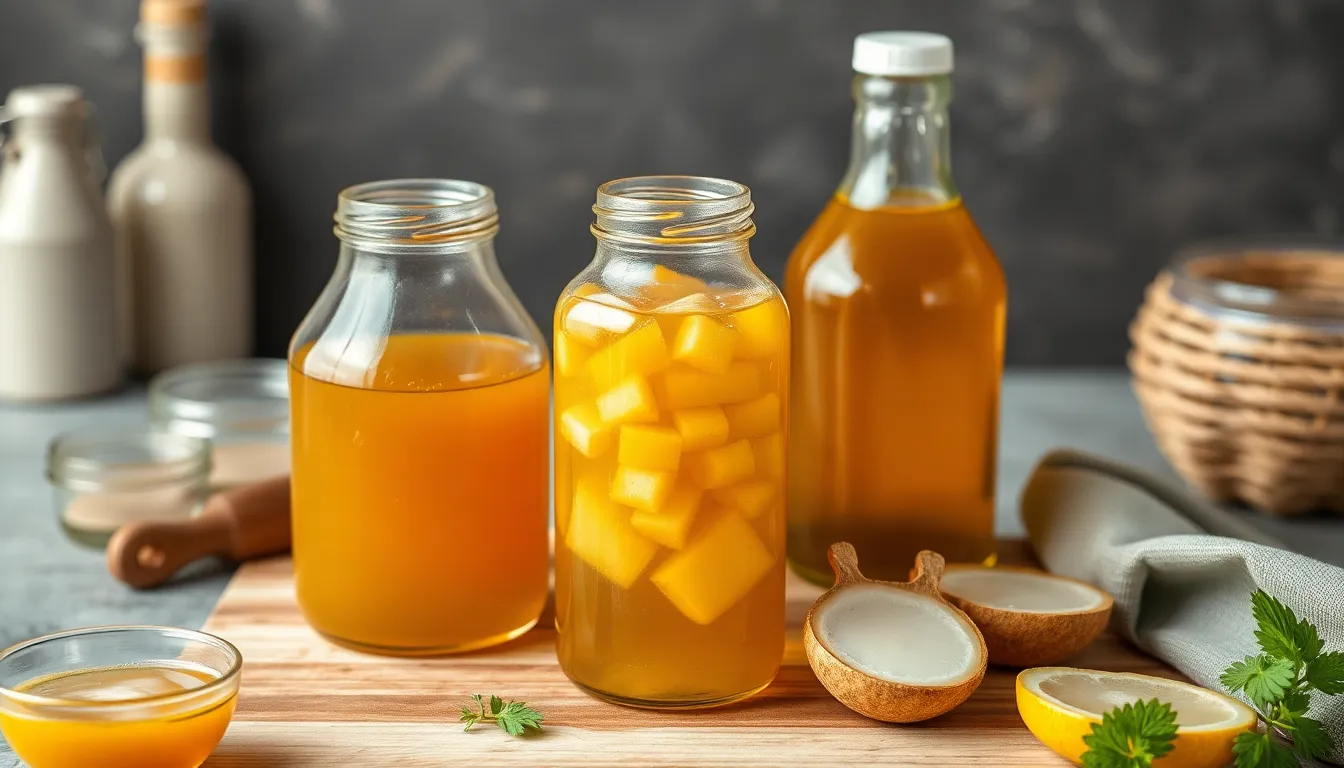
Fermenting Your Own Vinegar: A Step-by-Step Guide
Vinegar is not just a sour condiment; it’s a versatile ingredient that plays a crucial role in cooking, preserving, and enhancing flavors. From salad dressings to marinades and pickling solutions, vinegar adds a necessary tang that elevates countless dishes. Beyond its culinary uses, vinegar has a rich history as a preservative and medicinal ingredient. By fermenting your own vinegar, you not only tap into a traditional craft but also gain full control over the flavor and quality of the finished product.
In this guide, we will walk you through the entire process of making your own vinegar, from understanding the basics to bottling and flavoring it. Whether you want to create a vibrant apple cider vinegar or a robust red wine vinegar, this step-by-step guide will provide you with everything you need to know.
Section 1: Understanding Vinegar
1.1 What is Vinegar?
Vinegar is a sour liquid produced through the fermentation of ethanol (alcohol) by acetic acid bacteria. It has a distinct taste and is composed mainly of acetic acid, which gives vinegar its characteristic sharp flavor. There are various types of vinegar, each with unique properties:
- Apple Cider Vinegar: Made from fermented apple juice, it is slightly sweet and fruity.
- Red Wine Vinegar: A robust vinegar with a rich, tangy flavor, made from red wine.
- White Wine Vinegar: Milder than red wine vinegar, it is often used in salad dressings.
- Rice Wine Vinegar: Common in Asian cuisine, it is less acidic and has a subtly sweet taste.
1.2 The Fermentation Process
Fermentation is the natural process where sugars are converted into acids, gases, or alcohol by microorganisms like bacteria and yeast. In the case of vinegar, the essential ingredients needed are:
- Sugar: This can come from fruits, grains, or honey, depending on the type of vinegar you are making.
- Water: Pure water is crucial for dilution and ensuring proper fermentation.
- Vinegar Mother: This gelatinous substance, made of acetic acid bacteria and cellulose, helps in the fermentation process.
Section 2: Ingredients and Equipment
2.1 Essential Ingredients
Before you start fermenting your vinegar, gather the necessary ingredients. Here’s a list of common types of vinegar and their corresponding ingredients:
| Type of Vinegar | Main Ingredient | Sugar Source | Time to Ferment |
|---|---|---|---|
| Apple Cider | Apple Juice | Apples | 4-6 weeks |
| Red Wine | Red Wine | Grapes | 3-4 weeks |
| White Wine | White Wine | Grapes | 3-4 weeks |
| Rice Wine | Rice | Rice | 4-6 weeks |
2.2 Required Equipment
Here’s a list of essential tools you will need for fermenting your vinegar:
- Glass jars or containers (avoid metal and plastic)
- Cheesecloth or breathable fabric
- Rubber bands or string to secure the cheesecloth
- Stirring utensil (wooden or silicone)
- Funnel for bottling
- Measuring cups and spoons
When sourcing your ingredients and equipment, consider local markets for fresh fruit and organic options. Specialty kitchen stores may have fermentation jars and other specific tools.
Section 3: Step-by-Step Fermentation Process
3.1 Preparing Your Base
The first step in making your vinegar is preparing your base. If you’re using fruit, ensure it’s ripe and fresh to impart the best flavors. For wine-based vinegar, use a good-quality wine.
- For Apple Cider Vinegar: Juice fresh apples, or use store-bought apple juice that contains no preservatives.
- For Wine Vinegar: Pour red or white wine into your fermentation jar, leaving some space for the vinegar mother.
Always use clean utensils and containers to avoid contamination. Rinse everything with hot water and allow to dry before use.
3.2 Creating the Vinegar Mother
A vinegar mother is essential for fermentation. It consists of a culture of acetic acid bacteria. If you don’t have one, you can create it as follows:
- Combine equal parts water and sugar in a jar.
- Add some raw, unfiltered vinegar to the mix. This introduces the necessary bacteria.
- Cover the jar with cheesecloth and secure it with a rubber band.
- Store it in a warm, dark place. Within a few weeks, you should see a gelatinous layer forming at the surface.
3.3 Fermentation Steps
Once you have your base and vinegar mother ready, follow these detailed steps for fermentation:
- Mixing Ingredients: In a clean glass jar, combine your prepared base (juice or wine) with water and sugar, if necessary. Stir well to ensure the sugar is dissolved.
- Covering and Storing: Cover the jar with cheesecloth and secure it with a rubber band. This allows air to flow in while keeping dust and insects out. Store the jar in a warm (60-80°F) and dark place.
- Monitoring the Fermentation: Check your vinegar every few days. You should see bubbles forming, indicating that fermentation is happening. Taste your vinegar after a few weeks to check for acidity.
Common fermentation issues include:
- Slow Fermentation: Ensure your environment is warm enough and your ingredients are fresh.
- Off Smells: If you notice foul odors, it may indicate contamination. Discard the batch and start over.
- No Vinegar Mother Formation: If a mother doesn’t form, try adding more raw vinegar to the mix.
Section 4: Bottling and Storing Your Vinegar
4.1 When to Bottle
Your vinegar is ready to bottle when it has reached the desired acidity and flavor. Signs that your vinegar is ready include:
- A sharp, tangy flavor.
- Formation of a thick vinegar mother on the top.
- Bubbles have significantly reduced or stopped.
To test acidity, you can use pH strips or a simple taste test.
4.2 Bottling Process
When bottling your vinegar, it’s essential to follow these steps to ensure cleanliness:
- Sterilize your bottles by boiling them in water for 10 minutes or running them through a dishwasher on a high-heat cycle.
- Using a funnel, carefully pour your vinegar into the sterilized bottles, leaving some space at the top.
- Seal the bottles tightly with caps or corks.
4.3 Storage Tips
Store your homemade vinegar in a cool, dark place. Here are some best practices for storage:
- Keep it away from direct sunlight to prevent degradation.
- Label your bottles with the date and type of vinegar.
- Homemade vinegar can last indefinitely if stored properly, but for the best flavor, use within a year.
Section 5: Flavoring Your Vinegar
5.1 Infusing Flavors
Once you have your basic vinegar, you can infuse it with various flavors to enhance its taste. Some popular flavoring ideas include:
- Fresh herbs (basil, thyme, rosemary)
- Spices (peppercorns, garlic, mustard seeds)
- Fruits (berries, citrus peels, peaches)
To infuse flavors, follow these steps:
- Choose your flavoring ingredients and place them in a clean bottle.
- Pour your vinegar over the ingredients, ensuring they are fully submerged.
- Seal the bottle and store it in a cool, dark place for 1-2 weeks, shaking gently every few days.
- Taste periodically until it reaches your desired flavor, then strain out the solids and re-bottle.
5.2 Recipes Using Flavored Vinegar
Infused vinegars can be used in various recipes, such as:
- Salad Dressings: Combine flavored vinegar with olive oil, salt, and pepper for a quick dressing.
- Marinades: Use flavored vinegar as a base for marinating meats and vegetables.
- Pickling: Use it to pickle vegetables for a unique twist on traditional pickles.
Conclusion
Making your own vinegar allows you to experiment with flavors and techniques while enjoying the benefits of homemade products. It’s an incredibly rewarding process that connects you to the art of fermentation. Don’t be afraid to explore different fruits, wines, and flavorings as you create your unique vinegars. Share your experiences and favorite recipes in the comments section below; I’d love to hear from fellow vinegar enthusiasts!
Call to Action
If you enjoyed this guide and want to learn more about cooking techniques and recipes, consider subscribing to our newsletter. Check out related articles on fermentation and discover the joys of homemade condiments at Spice Storyteller.
Additional Resources


