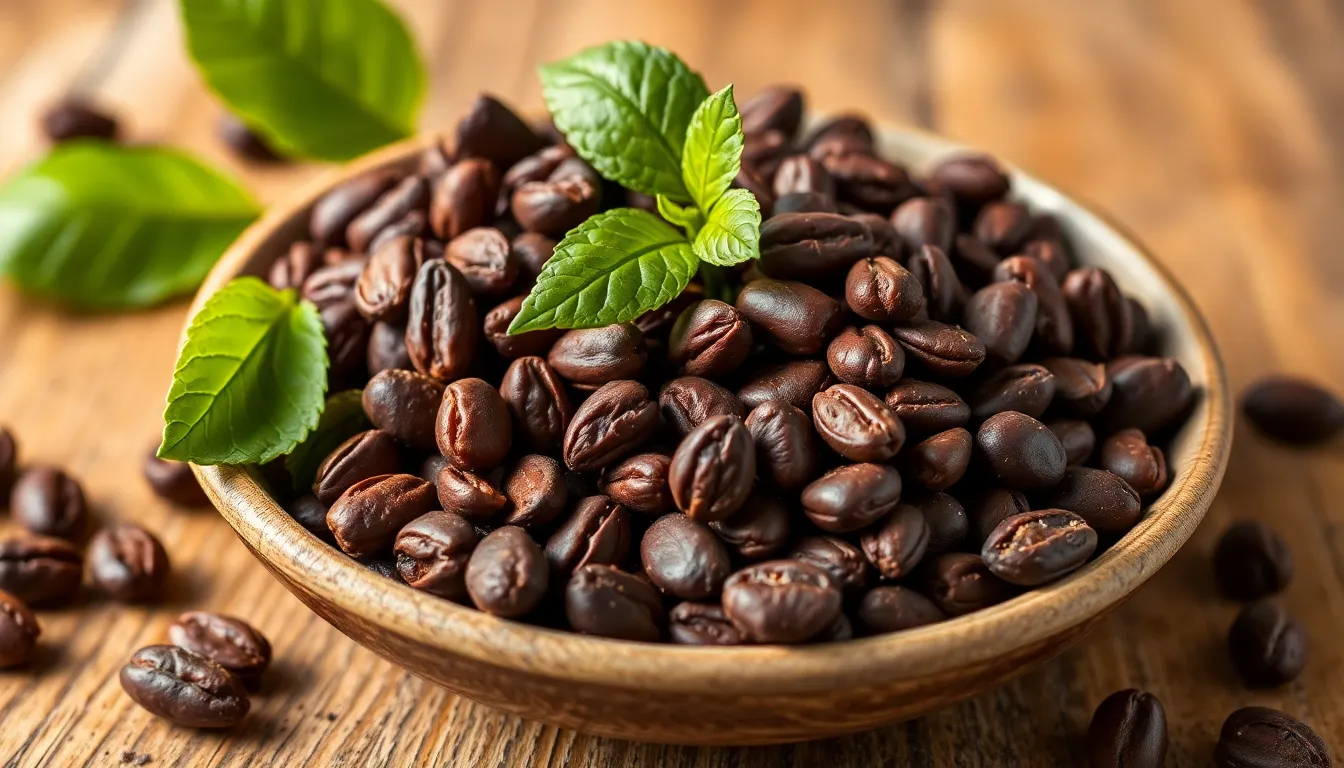
The Benefits of Blanching Nuts: A Toasty Upgrade
Introduction
Nuts have long been celebrated as a healthy snack option, packed with essential nutrients, healthy fats, and protein. They come in various flavors and textures, making them a delightful addition to any diet. However, did you know that the way you prepare nuts can significantly impact their taste and texture? One such technique is blanching, a simple cooking method that can elevate your nut-eating experience.
In this article, we will explore the benefits of blanching nuts, delving into how this technique enhances both flavor and texture. By the end, you’ll see why incorporating blanched nuts into your diet can be a game-changer!
Section 1: What is Blanching?
Blanching is a cooking process where food—such as nuts—is briefly submerged in boiling water and then quickly cooled in an ice bath. This method is primarily used to enhance flavor, improve texture, and make the food easier to digest.
When it comes to nuts, the blanching process typically involves two common methods:
- Boiling: Nuts are placed in boiling water for a few minutes, allowing their skins to loosen.
- Ice Bath: After boiling, the nuts are immediately transferred to an ice bath to halt the cooking process.
For a visual cue, you can refer to the following video demonstrating the blanching process: Blanching Nuts Video.
Section 2: Why Blanch Nuts?
Subsection 2.1: Improved Flavor
Blanching nuts can significantly enhance their natural flavor. The brief exposure to boiling water helps to release the oils within the nuts, leading to a more pronounced taste. Compared to unblanched nuts, blanched nuts offer a smoother, more buttery flavor profile.
Flavor Comparison
| Nut Type | Blanched Flavor Profile | Unblanched Flavor Profile |
|---|---|---|
| Almonds | Rich and creamy | Earthy and slightly bitter |
| Hazelnuts | Buttery and sweet | Strong and astringent |
Subsection 2.2: Better Texture
In addition to improving flavor, blanching also impacts the texture of nuts. Blanched nuts tend to have a crunchier, more satisfying bite. This change in texture can be particularly beneficial in culinary applications, such as:
- Incorporating into baked goods (cookies, cakes, etc.)
- Using as toppings for salads
- Creating nut-based sauces and spreads
Subsection 2.3: Easier to Digest
Another significant benefit of blanching nuts is improved digestibility. The blanching process helps break down certain compounds that can be tough on the stomach, making blanched nuts easier to process. This can be especially important for individuals with sensitive digestion.
Additionally, blanched nuts can offer some nutritional advantages over raw nuts, including:
- Reduced phytic acid content, which can inhibit mineral absorption.
- Increased bioavailability of certain nutrients.
Section 3: Nutritional Comparison
To further illustrate the nutritional benefits of blanched nuts, let’s take a look at a comparison between raw and blanched nuts. The following table highlights the differences in calories, fat content, protein, and fiber:
| Nut Type | Calories (per 1 oz) | Fat (g) | Protein (g) | Fiber (g) |
|---|---|---|---|---|
| Almonds (Raw) | 160 | 14 | 6 | 3 |
| Almonds (Blanched) | 140 | 12 | 5 | 2 |
| Hazelnuts (Raw) | 178 | 17 | 4 | 3 |
| Hazelnuts (Blanched) | 160 | 15 | 4 | 2 |
Section 4: How to Blanch Nuts at Home
Step-by-Step Instructions
Blanching nuts at home is a simple process that requires minimal time and effort. Follow these step-by-step instructions to blanch your favorite nuts:
What You’ll Need:
- Nuts of your choice (almonds, hazelnuts, etc.)
- Water
- Ice
- A large pot
- A slotted spoon
- A bowl for the ice bath
Steps:
- Prepare the Ice Bath: Fill a large bowl with ice and water. This will be used to cool the nuts after boiling.
- Boil Water: In a large pot, bring water to a rolling boil. The amount of water should be enough to fully submerge the nuts.
- Add Nuts: Carefully add the nuts to the boiling water and let them cook for 1-3 minutes, depending on the type of nut. Keep an eye on them to avoid overcooking.
- Transfer to Ice Bath: Using a slotted spoon, quickly transfer the nuts from the boiling water to the ice bath. This will stop the cooking process.
- Remove Skins: Once the nuts are cool, you’ll notice the skins will easily slip off. Gently squeeze the nuts to remove the skins.
- Dry the Nuts: Spread the blanched nuts on a paper towel to absorb any excess moisture before using or storing them.
Conclusion
Blanching nuts is a simple yet effective technique that can elevate your nut experience by enhancing flavor, improving texture, and boosting digestibility. With the added nutritional benefits, it’s clear that blanched nuts can be a delightful addition to your snacks or meals. So the next time you reach for a handful of nuts, consider blanching them first for that toasty upgrade!
Happy cooking!


