How to Make a Classic Coconut Cream Pie: Step-by-Step Instructions
Introduction
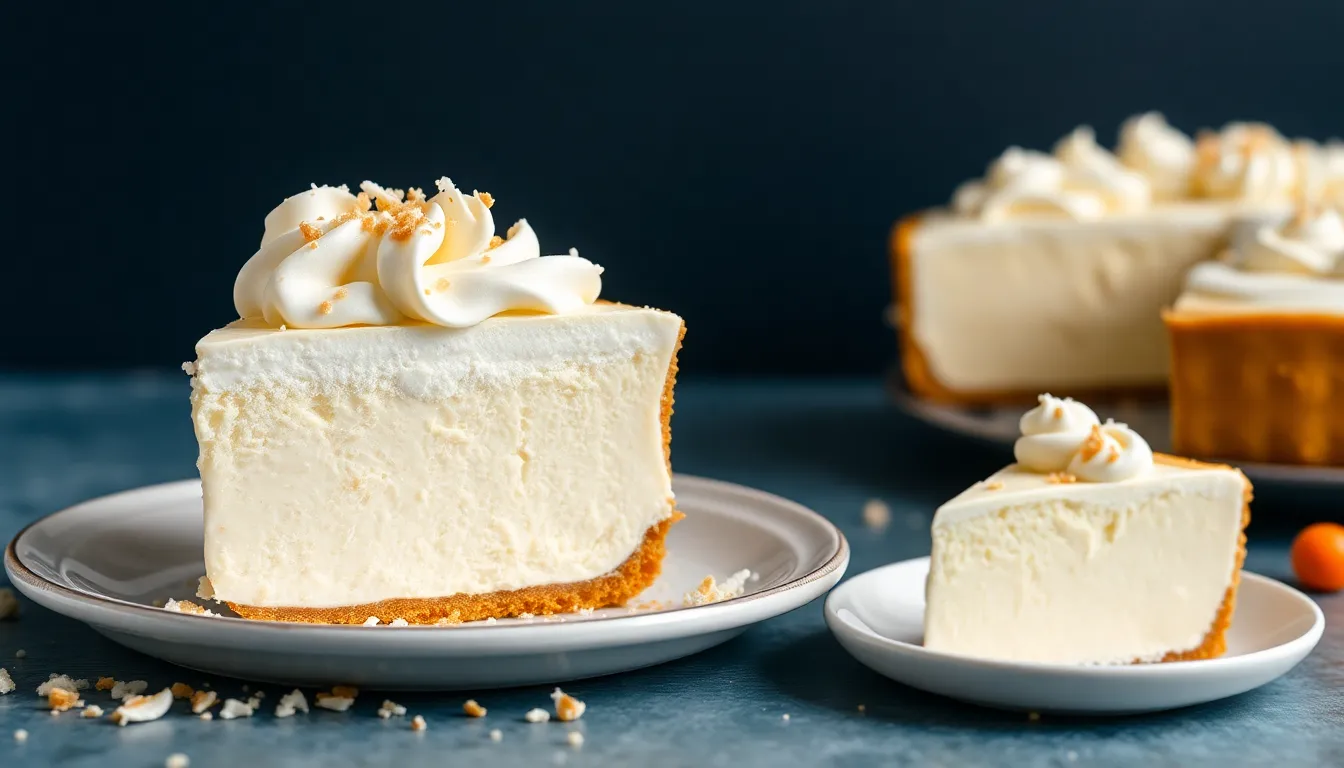
Coconut cream pie is a delightful dessert that brings a taste of tropical paradise to your table. With its creamy coconut custard filling, light and airy whipped cream topping, and a crunchy crust, this pie is a favorite among many dessert lovers. Whether served at a summer barbecue or during festive holidays, it never fails to impress.
The origins of coconut cream pie can be traced back to the classic American dessert tradition, which blossomed in the 19th century. Its rise in popularity coincided with the increased accessibility of coconut as an ingredient, thanks to trade and agriculture. First, it appeared in cookbooks in the 19th century and has been a beloved dessert ever since.
This article will guide you through the process of making a classic coconut cream pie from scratch, covering everything from the essential ingredients to the final presentation. Let’s dive in!
Ingredients
To make a delicious coconut cream pie, you will need the following ingredients:
List of Ingredients
- Graham cracker crumbs
- Unsalted butter
- Sugar
- Milk (whole or coconut)
- Egg yolks
- Shredded coconut
- Vanilla extract
- Heavy cream
- Powdered sugar
Optional Variations
You can customize your coconut cream pie with the following optional variations:
- Using sweetened shredded coconut for a richer flavor
- Incorporating different types of milk, such as almond or oat milk, for unique flavors
- Adding chocolate shavings for a chocolate-coconut twist
| Ingredient | Amount |
|---|---|
| Graham cracker crumbs | 1 ½ cups |
| Unsalted butter | ½ cup |
| Sugar | ¾ cup |
| Milk (whole or coconut) | 2 cups |
| Egg yolks | 4 |
| Shredded coconut | 1 cup |
| Vanilla extract | 1 tsp |
| Heavy cream | 1 cup |
| Powdered sugar | 2 tbsp |
Equipment Needed
Before you begin, ensure you have the following equipment ready:
Essential Kitchen Tools
- Mixing bowls
- Whisk
- Measuring cups and spoons
- 8-inch pie dish
- Stove and saucepan
- Electric mixer or hand whisk
Optional Tools for a More Refined Pie
- Food processor for crumb crust
- Offset spatula for smooth whipped cream topping
- Piping bag for decorative whipped cream swirls
Step-by-Step Instructions
Step 1: Prepare the Crust
The crust is the foundation of your coconut cream pie and can be made easily using graham cracker crumbs.
- Preheat your oven to 350°F (175°C).
- In a mixing bowl, combine 1 ½ cups of graham cracker crumbs, ½ cup of melted unsalted butter, and ¾ cup of sugar. Mix until the crumbs are well coated.
- Press the mixture firmly into the bottom and sides of an 8-inch pie dish. Ensure it’s evenly spread for the best texture.
- Pre-bake the crust in the preheated oven for about 10 minutes or until lightly golden. This helps to create a firmer texture.
- Once baked, remove the crust from the oven and allow it to cool completely while you prepare the filling.
Step 2: Make the Filling
Now it’s time to create the luscious coconut custard filling.
- In a saucepan, combine 2 cups of milk (whole or coconut) and ¾ cup of sugar over medium heat. Stir occasionally until the sugar dissolves.
- In a separate bowl, whisk together 4 egg yolks and gradually add about ½ cup of the warm milk mixture to temper the eggs.
- Slowly pour the egg mixture back into the saucepan, whisking continuously. Cook on low heat until the mixture thickens, about 8-10 minutes. You want it to coat the back of a spoon.
- Remove from heat and stir in 1 cup of shredded coconut and 1 tsp of vanilla extract.
- Set the filling aside to cool slightly before pouring it into the cooled crust. Spread it evenly.
Step 3: Combine and Chill
Chilling the pie is crucial for achieving that perfect creamy texture.
- Once the filling is poured into the crust, cover the pie with plastic wrap to prevent a skin from forming.
- Refrigerate the pie for at least 4 hours or overnight for the best results.
Step 4: Prepare the Topping
The final touch for your coconut cream pie is a light and fluffy whipped cream topping.
- In a mixing bowl, combine 1 cup of heavy cream and 2 tbsp of powdered sugar.
- Using an electric mixer, beat on medium-high speed until soft peaks form.
- Spread or pipe the whipped cream over the chilled coconut filling.
- For an added touch, sprinkle extra shredded coconut on top for decoration.
Tips and Tricks
To ensure your coconut cream pie turns out perfectly, keep these tips in mind:
Common Mistakes to Avoid
- Not tempering the eggs properly can result in scrambled eggs in your filling.
- Overcooking the custard can make it grainy, so keep an eye on it while cooking.
How to Customize the Pie
- Add chocolate chips or chocolate shavings for a chocolate-coconut flavor.
- Experiment with different extracts like almond or coconut extract for a unique twist.
Storage Tips for Leftover Pie
If you find yourself with leftover pie, store it in the refrigerator, covered tightly with plastic wrap or in an airtight container. It’s best enjoyed within 3-4 days.
Serving Suggestions
When it comes to serving coconut cream pie, consider these ideas:
- Garnish with additional coconut flakes or chocolate shavings for a beautiful presentation.
- Serve with a side of fresh fruit like strawberries or pineapple for a refreshing contrast.
- Pair with a cup of coffee, herbal tea, or a light dessert wine for a complete dining experience.
Conclusion
In conclusion, making a classic coconut cream pie from scratch is an enjoyable and rewarding experience. From the flavorful crust to the creamy filling and fluffy topping, each step is an opportunity to create something truly special.
We encourage you to try this recipe and share your experiences with us. Whether you’re enjoying it on a sunny afternoon or serving it at a gathering, coconut cream pie is sure to be a hit!
Happy baking!


