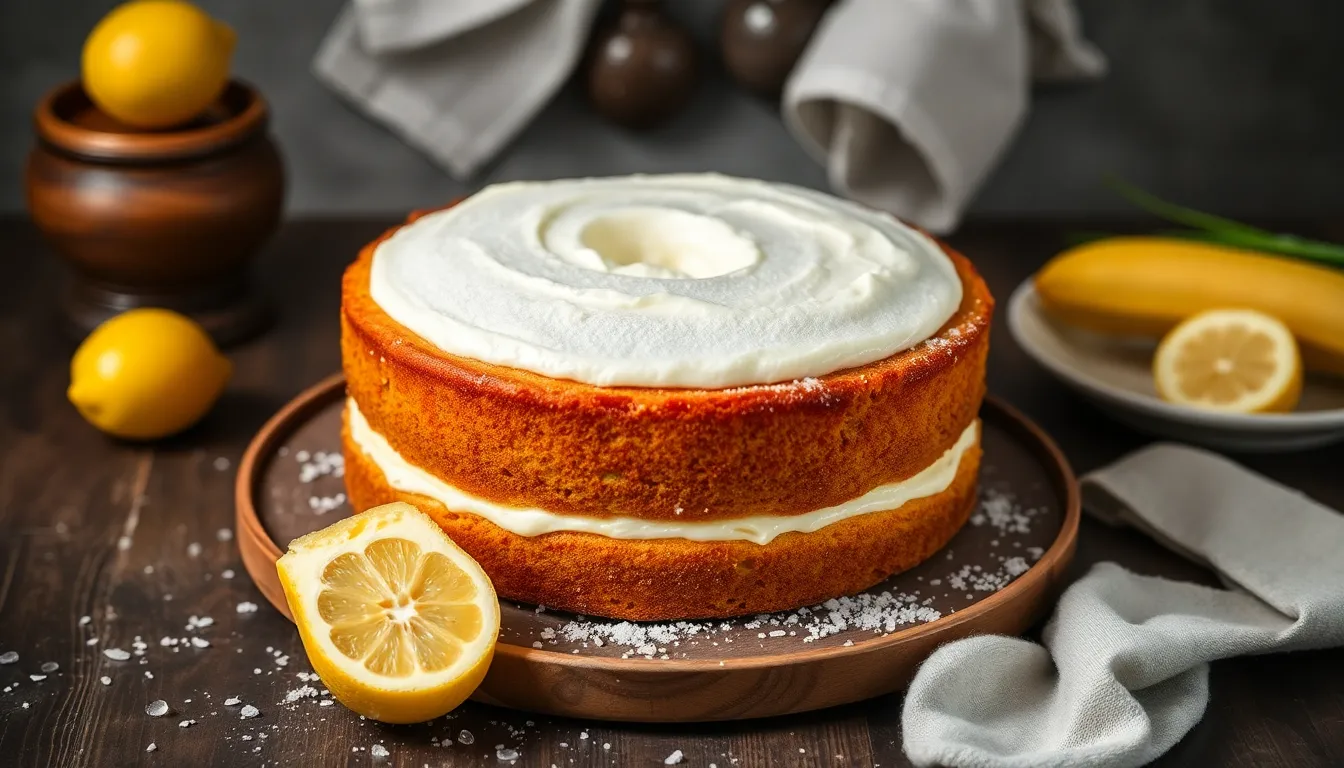
How to Bake the Fluffiest Vanilla Cake from Scratch
Introduction
There’s something undeniably enchanting about a homemade vanilla cake. Its scent wafting through the kitchen, the anticipation of slicing into a soft and airy slice, it brings joy to any occasion, whether it’s a birthday celebration or a simple afternoon tea. The allure of baking a cake from scratch lies not just in the final product but in the love and effort that goes into creating something so delightful. However, the secret to a perfect vanilla cake isn’t just about the ingredients; it’s about achieving that coveted fluffiness that makes each bite melt in your mouth.
In this guide, we will explore every aspect of baking the fluffiest vanilla cake from scratch. From selecting the right ingredients to the step-by-step process of mixing and baking, you will discover the key techniques that ensure your cake turns out light, airy, and full of flavor. Whether you’re an experienced baker or a novice, this guide will provide you with essential tips and tricks to conquer the art of vanilla cake baking.
Ingredients
To start your journey to baking a fluffy vanilla cake, you’ll need to gather the following ingredients:
| Ingredient | Amount |
|---|---|
| All-purpose flour | 2 ½ cups |
| Baking powder | 2 ½ teaspoons |
| Salt | ½ teaspoon |
| Unsalted butter | 1 cup (softened) |
| Granulated sugar | 2 cups |
| Large eggs | 4 |
| Vanilla extract | 2 teaspoons |
| Milk | 1 cup (room temperature) |
Equipment Needed
Before you start baking, make sure you have the following tools on hand:
- Mixing bowls
- Measuring cups and spoons
- Electric mixer or whisk
- Rubber spatula
- 9-inch round cake pans
- Cooling rack
Step-by-Step Instructions
Step 1: Preparing Your Ingredients
Before you dive into mixing, it’s crucial to prepare your ingredients. Measure them accurately to ensure your cake turns out perfect. Use dry measuring cups for solids and liquid measuring cups for liquids. For dry ingredients, scoop them into the measuring cup and level them off with a knife for accuracy. Room temperature ingredients, especially butter and eggs, are essential as they combine more easily, leading to a better texture.
Step 2: Mixing the Dry Ingredients
In a separate bowl, combine the all-purpose flour, baking powder, and salt. These dry ingredients are the backbone of your cake. To enhance fluffiness, consider sifting the flour before measuring. This process aerates the flour, preventing any lumps and making it lighter:
- Measure the flour first.
- Sift it into a bowl, adding the baking powder and salt.
- Whisk them together to ensure even distribution.
Step 3: Creaming Butter and Sugar
The creaming process is vital for incorporating air into your batter, which contributes to the cake’s fluffiness. Using an electric mixer on medium speed, cream together the softened unsalted butter and granulated sugar until the mixture is light and fluffy. This typically takes about 3-5 minutes. Make sure to scrape down the sides of the bowl to ensure everything is well combined.
Step 4: Adding Eggs and Vanilla
Next, you will incorporate the eggs and vanilla extract into your creamed mixture. Add the eggs one at a time, mixing well after each addition. This method ensures that the eggs are fully incorporated, which helps in creating a uniform batter:
- Add the first egg and mix until fully combined.
- Repeat with the remaining eggs.
- Finally, add the vanilla extract and mix until smooth.
Step 5: Alternating Dry Ingredients with Milk
Now it’s time to mix your dry ingredients and milk into the batter. Start by adding about one-third of the dry mixture to the batter, followed by half of the milk. Repeat this process, ending with the dry ingredients. This wet and dry method prevents overmixing, which can lead to a dense cake. Remember to mix just until combined; a few lumps are okay!
Step 6: Baking the Cake
Preheat your oven to 350°F (175°C). While the oven is heating, prepare your cake pans by greasing them with butter or cooking spray and lining the bottoms with parchment paper. Divide the batter evenly between the two 9-inch round pans. Bake for 25-30 minutes, or until a toothpick inserted into the center comes out clean. Your kitchen will start to smell heavenly during this time!
Step 7: Cooling the Cake
Once your cakes are done baking, remove them from the oven and let them cool in the pans for about 10 minutes. Then, carefully turn them out onto a cooling rack to cool completely. Cooling the cakes properly is crucial; it helps set the structure and retains fluffiness. Avoid stacking hot cakes, as this can lead to a soggy texture.
Tips for the Perfect Fluffiest Vanilla Cake
In addition to following the steps outlined above, here are some additional tips to ensure your vanilla cake comes out fluffy every time:
- Use fresh ingredients: Check the expiration dates on your baking powder and vanilla extract.
- Room temperature ingredients: Bring your butter, eggs, and milk to room temperature to ensure even mixing.
- Don’t overmix: Mix just until combined to prevent the cake from becoming dense.
- Use an oven thermometer: This helps ensure your oven is at the correct temperature for baking.
- Experiment with flour: If you want an extra fluffy cake, consider using cake flour instead of all-purpose flour.
Conclusion
Baking the fluffiest vanilla cake from scratch isn’t merely a task; it’s a delightful experience that results in a treat that can be enjoyed by family and friends. By following these simple steps and tips, you can master the art of cake baking. Remember, practice makes perfect, so don’t hesitate to experiment with flavors or decorations after you’ve nailed the basic vanilla cake recipe. Enjoy your baking journey!


